
How to Match your Quilt Backing
2 ways to prepare your quilt back
Do you finish your beautiful quilt top and then freeze? I know I used to, in fact, I used to only make baby size quilts or anything under 42 inches. That way I never had to piece the back of my quilt.
Preparing the backing is often the one reason people don’t finish their quilts. In this blog, I will give you two great options I use to piece my backing for my quilts.
Option 1: Assemble Backing with Selvage Showing
Step 1: For this option, you do not need any special supplies. Just a cool fabric with a fun selvage like a Ruby Star Society or Cotton and Steele.

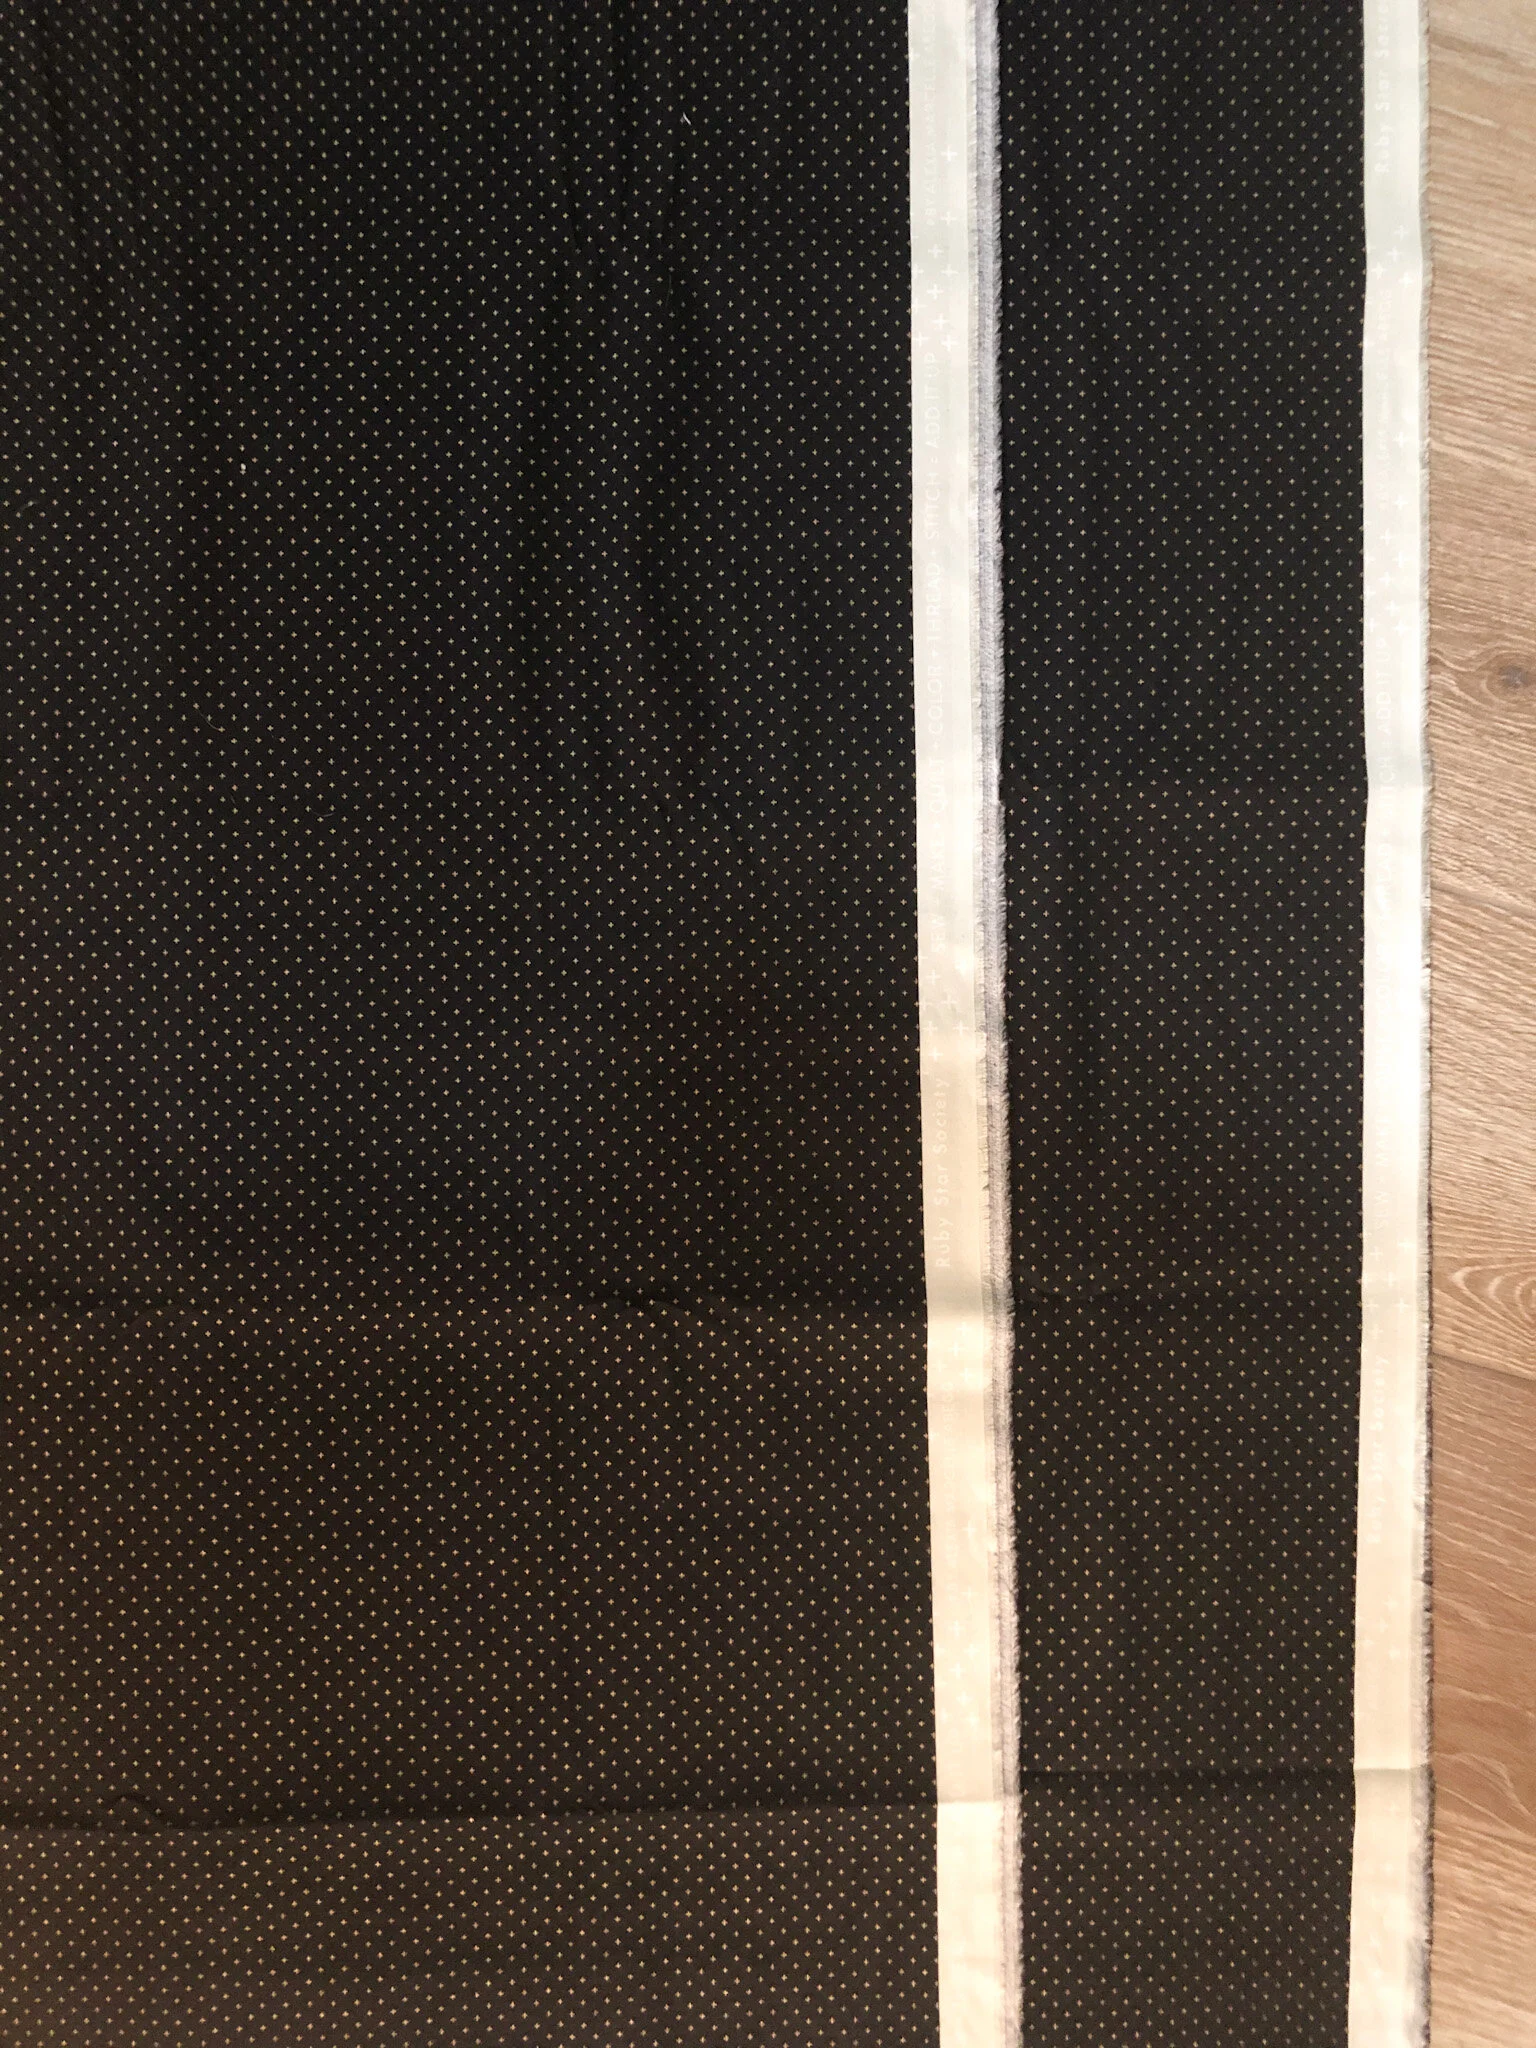
Step 2: Take your two pieces of backing to your machine. You are going to match the selvage with the writing on one piece to the selvage with no writing on the other. Put them Right Sides together.
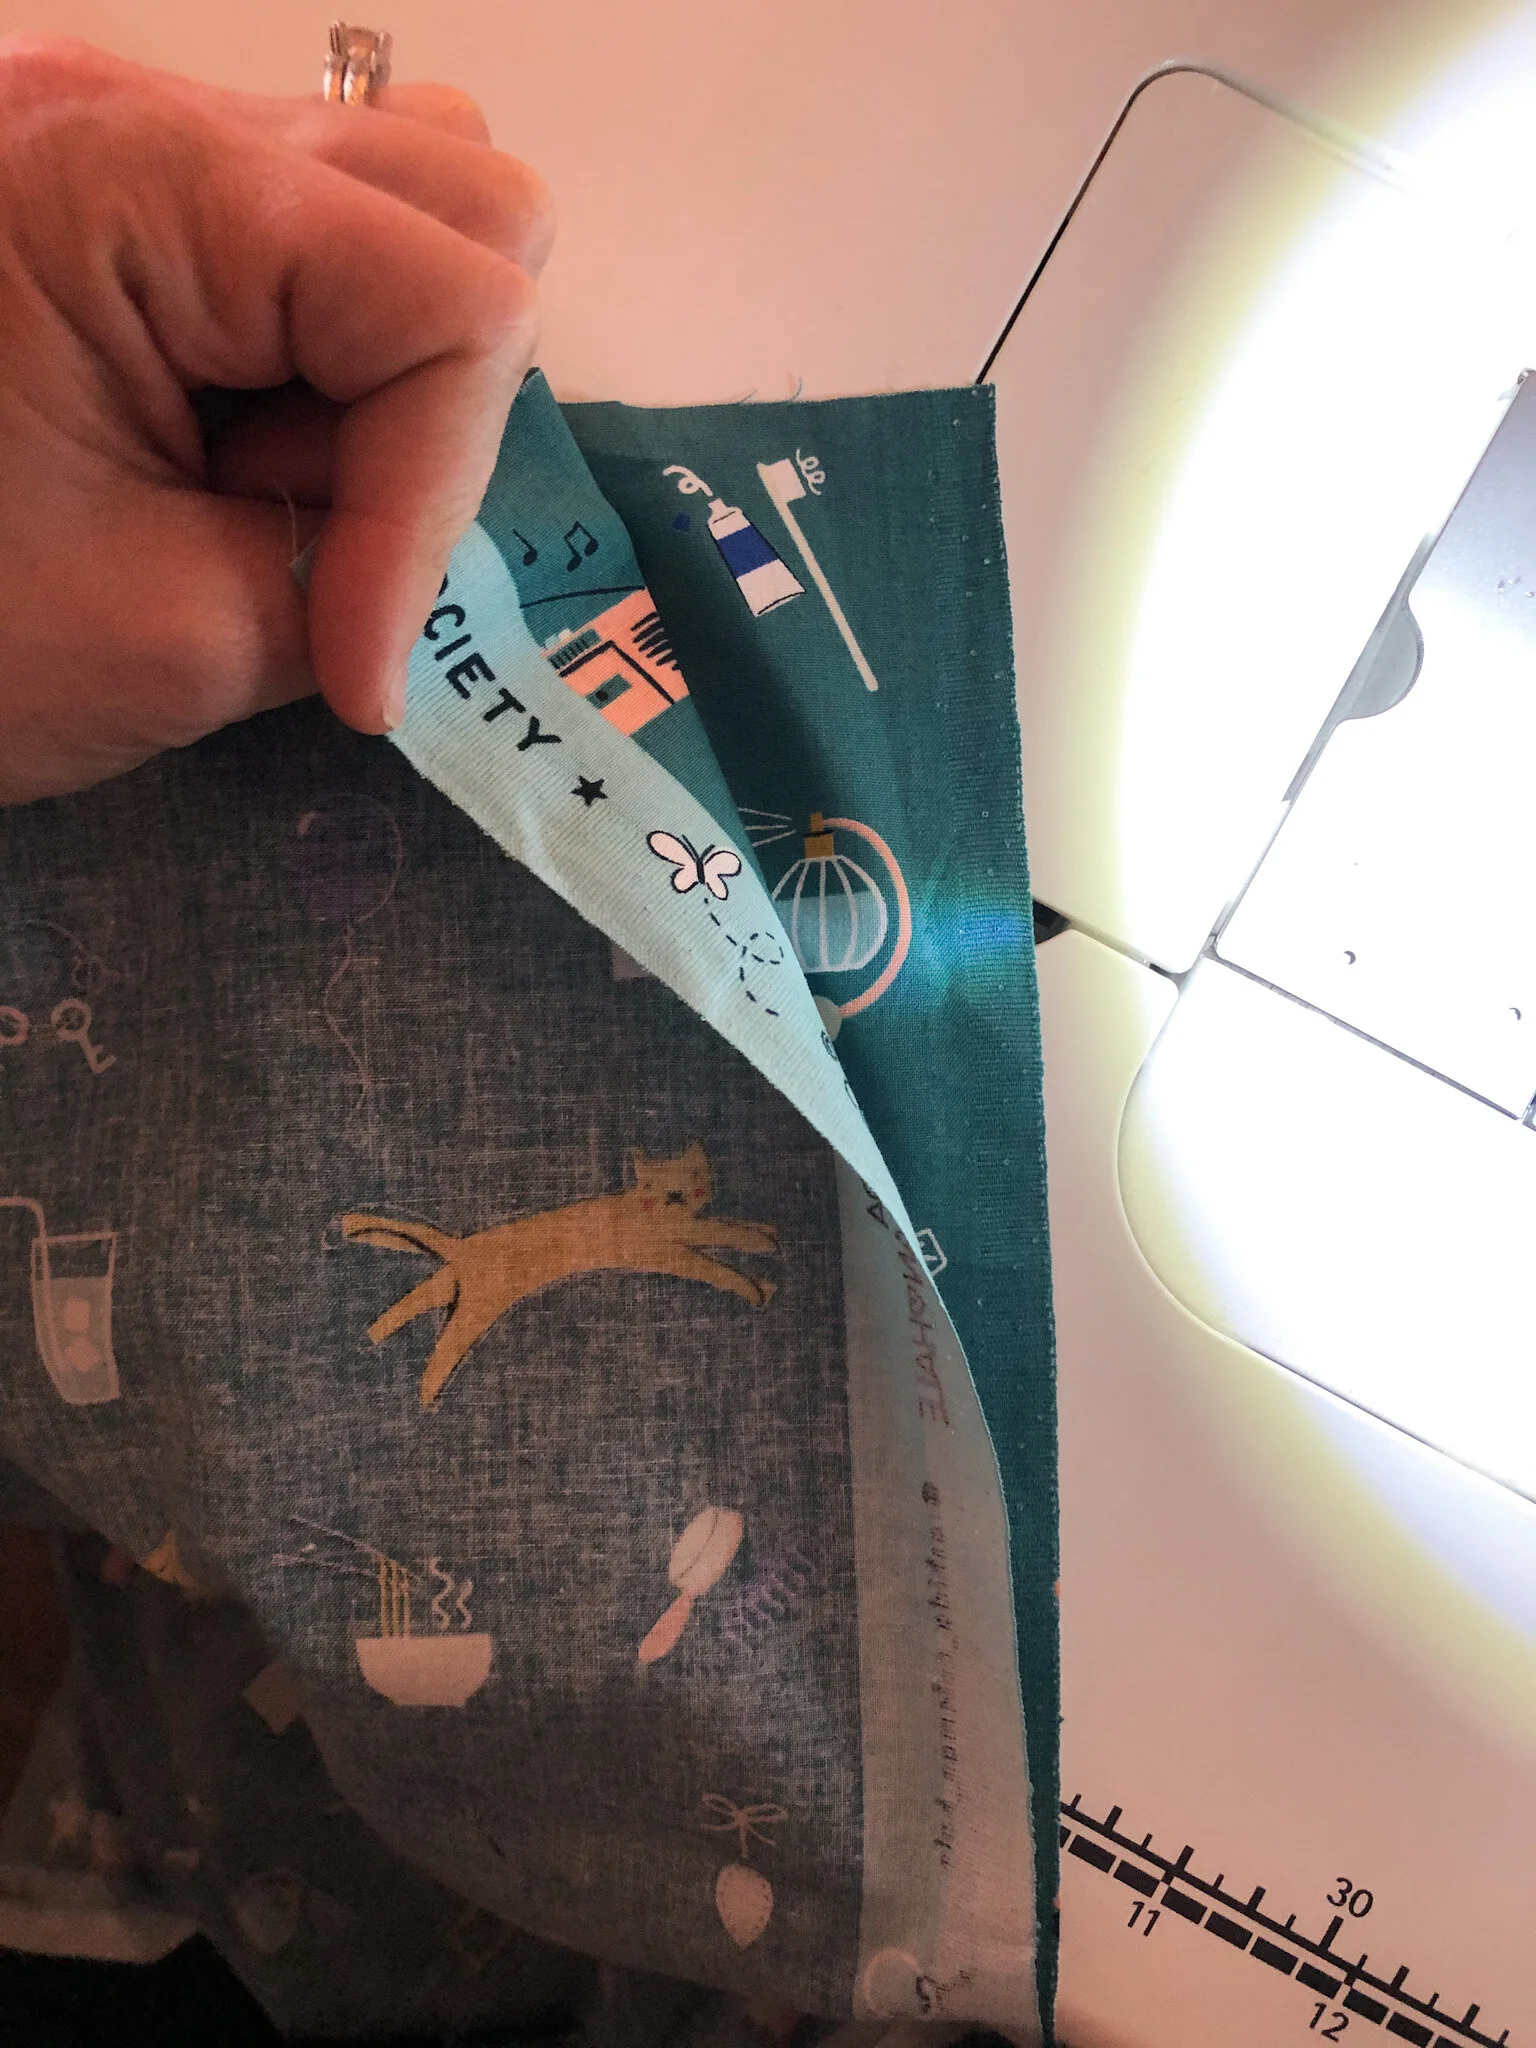
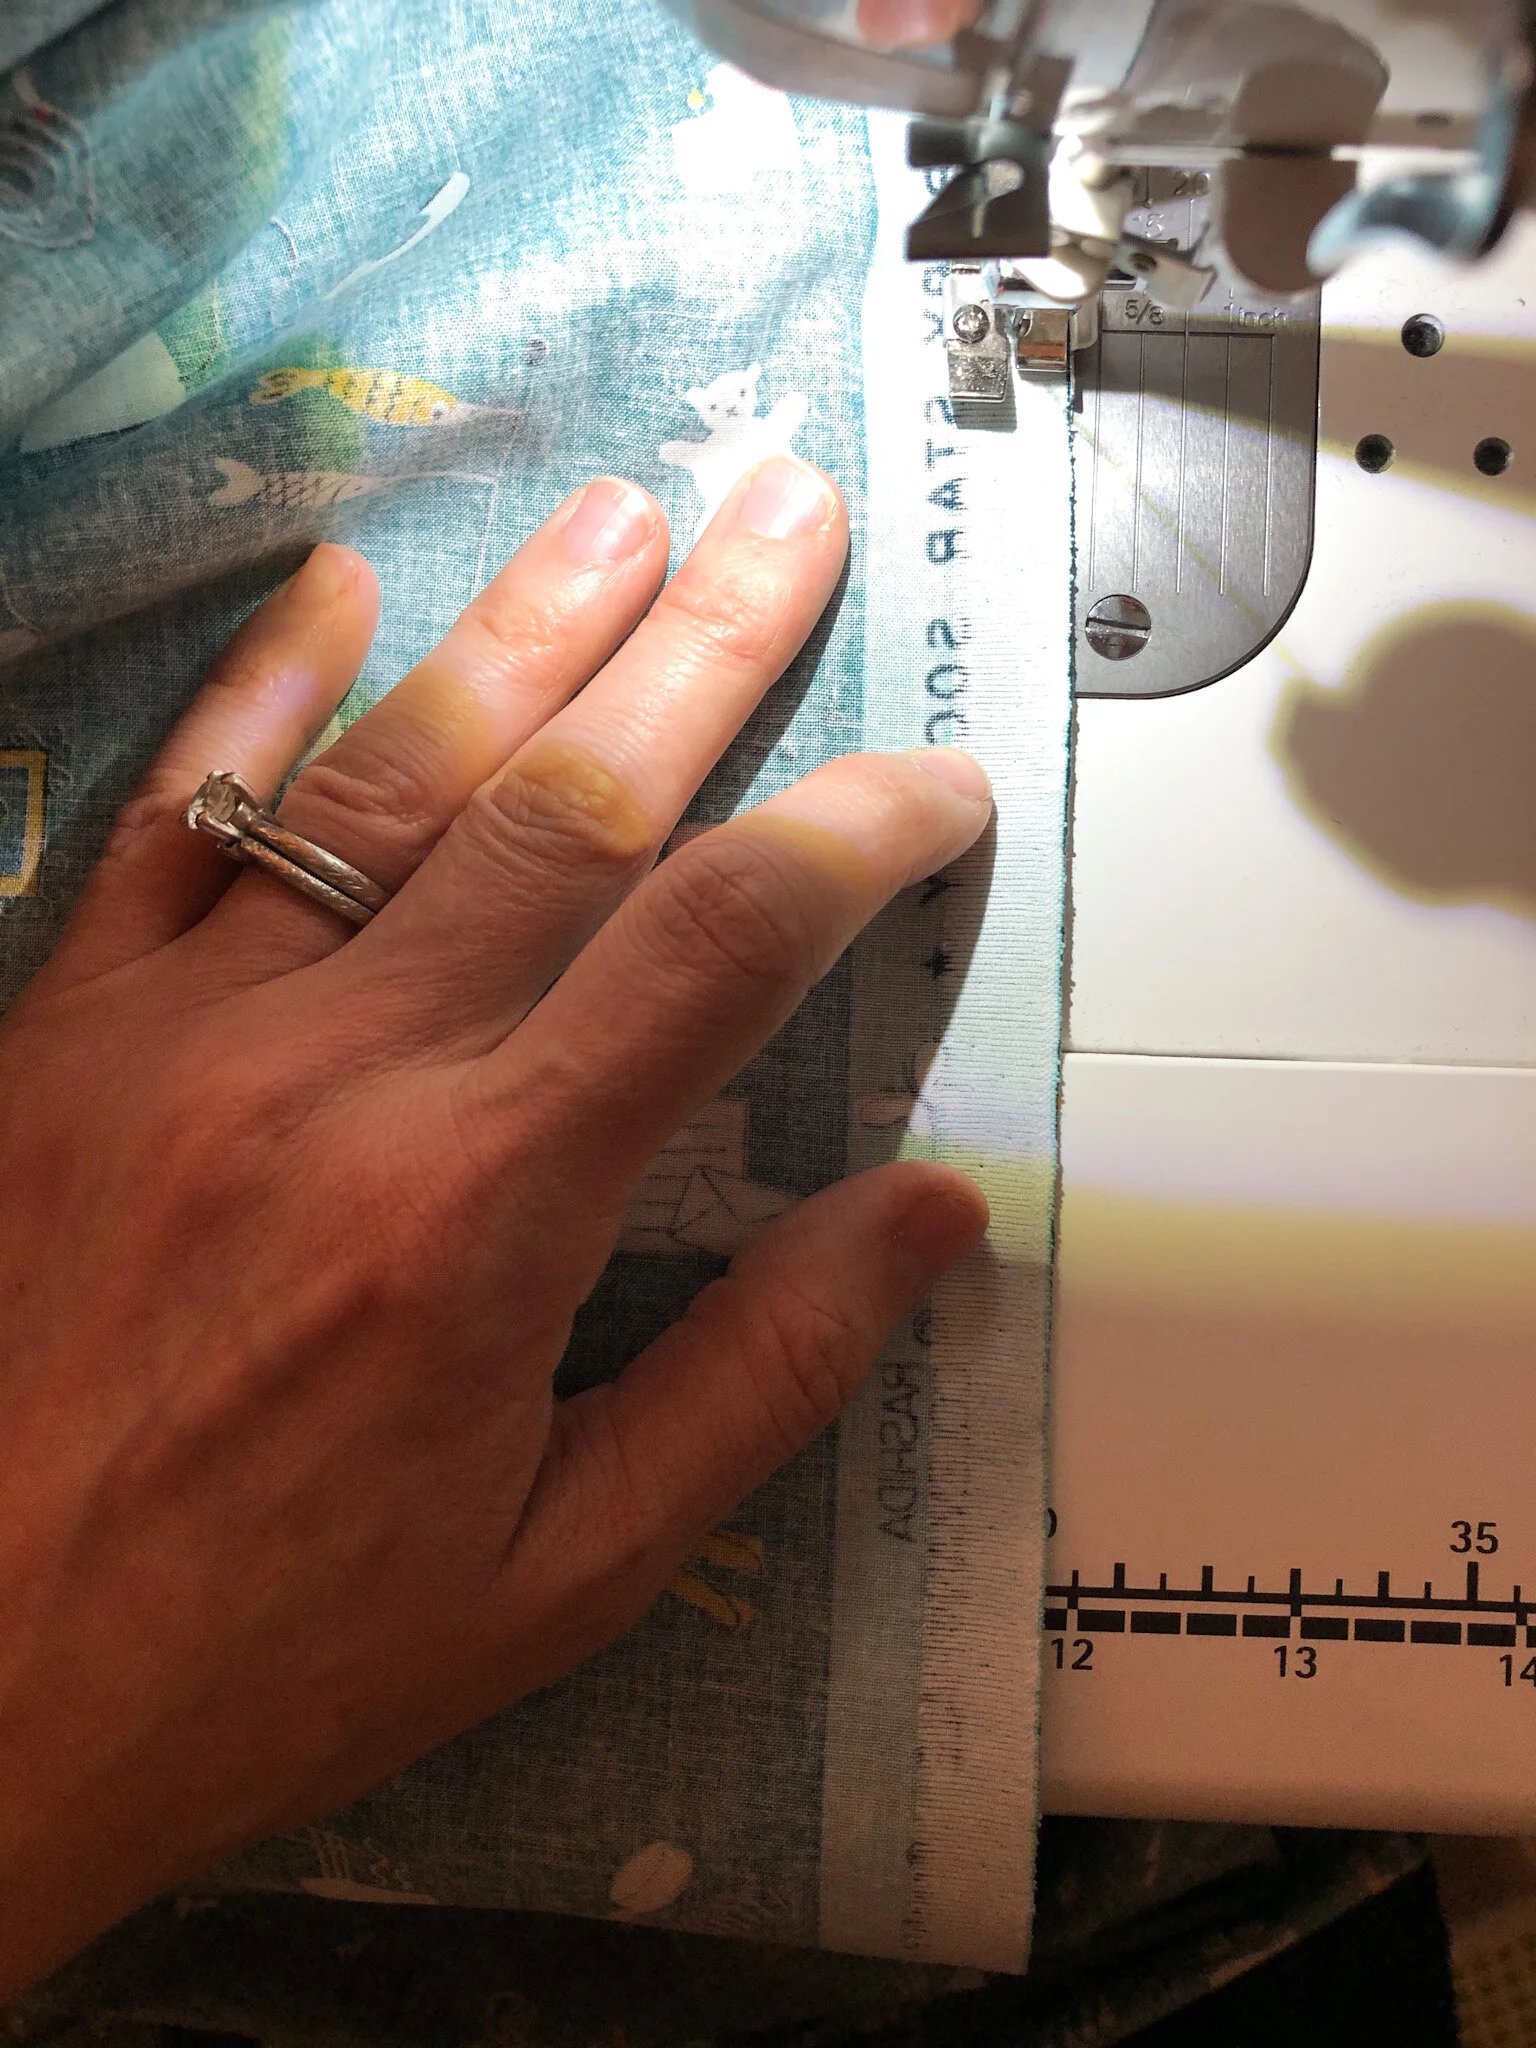
Step 3: Sew a 1/4” seam along the entire edge.
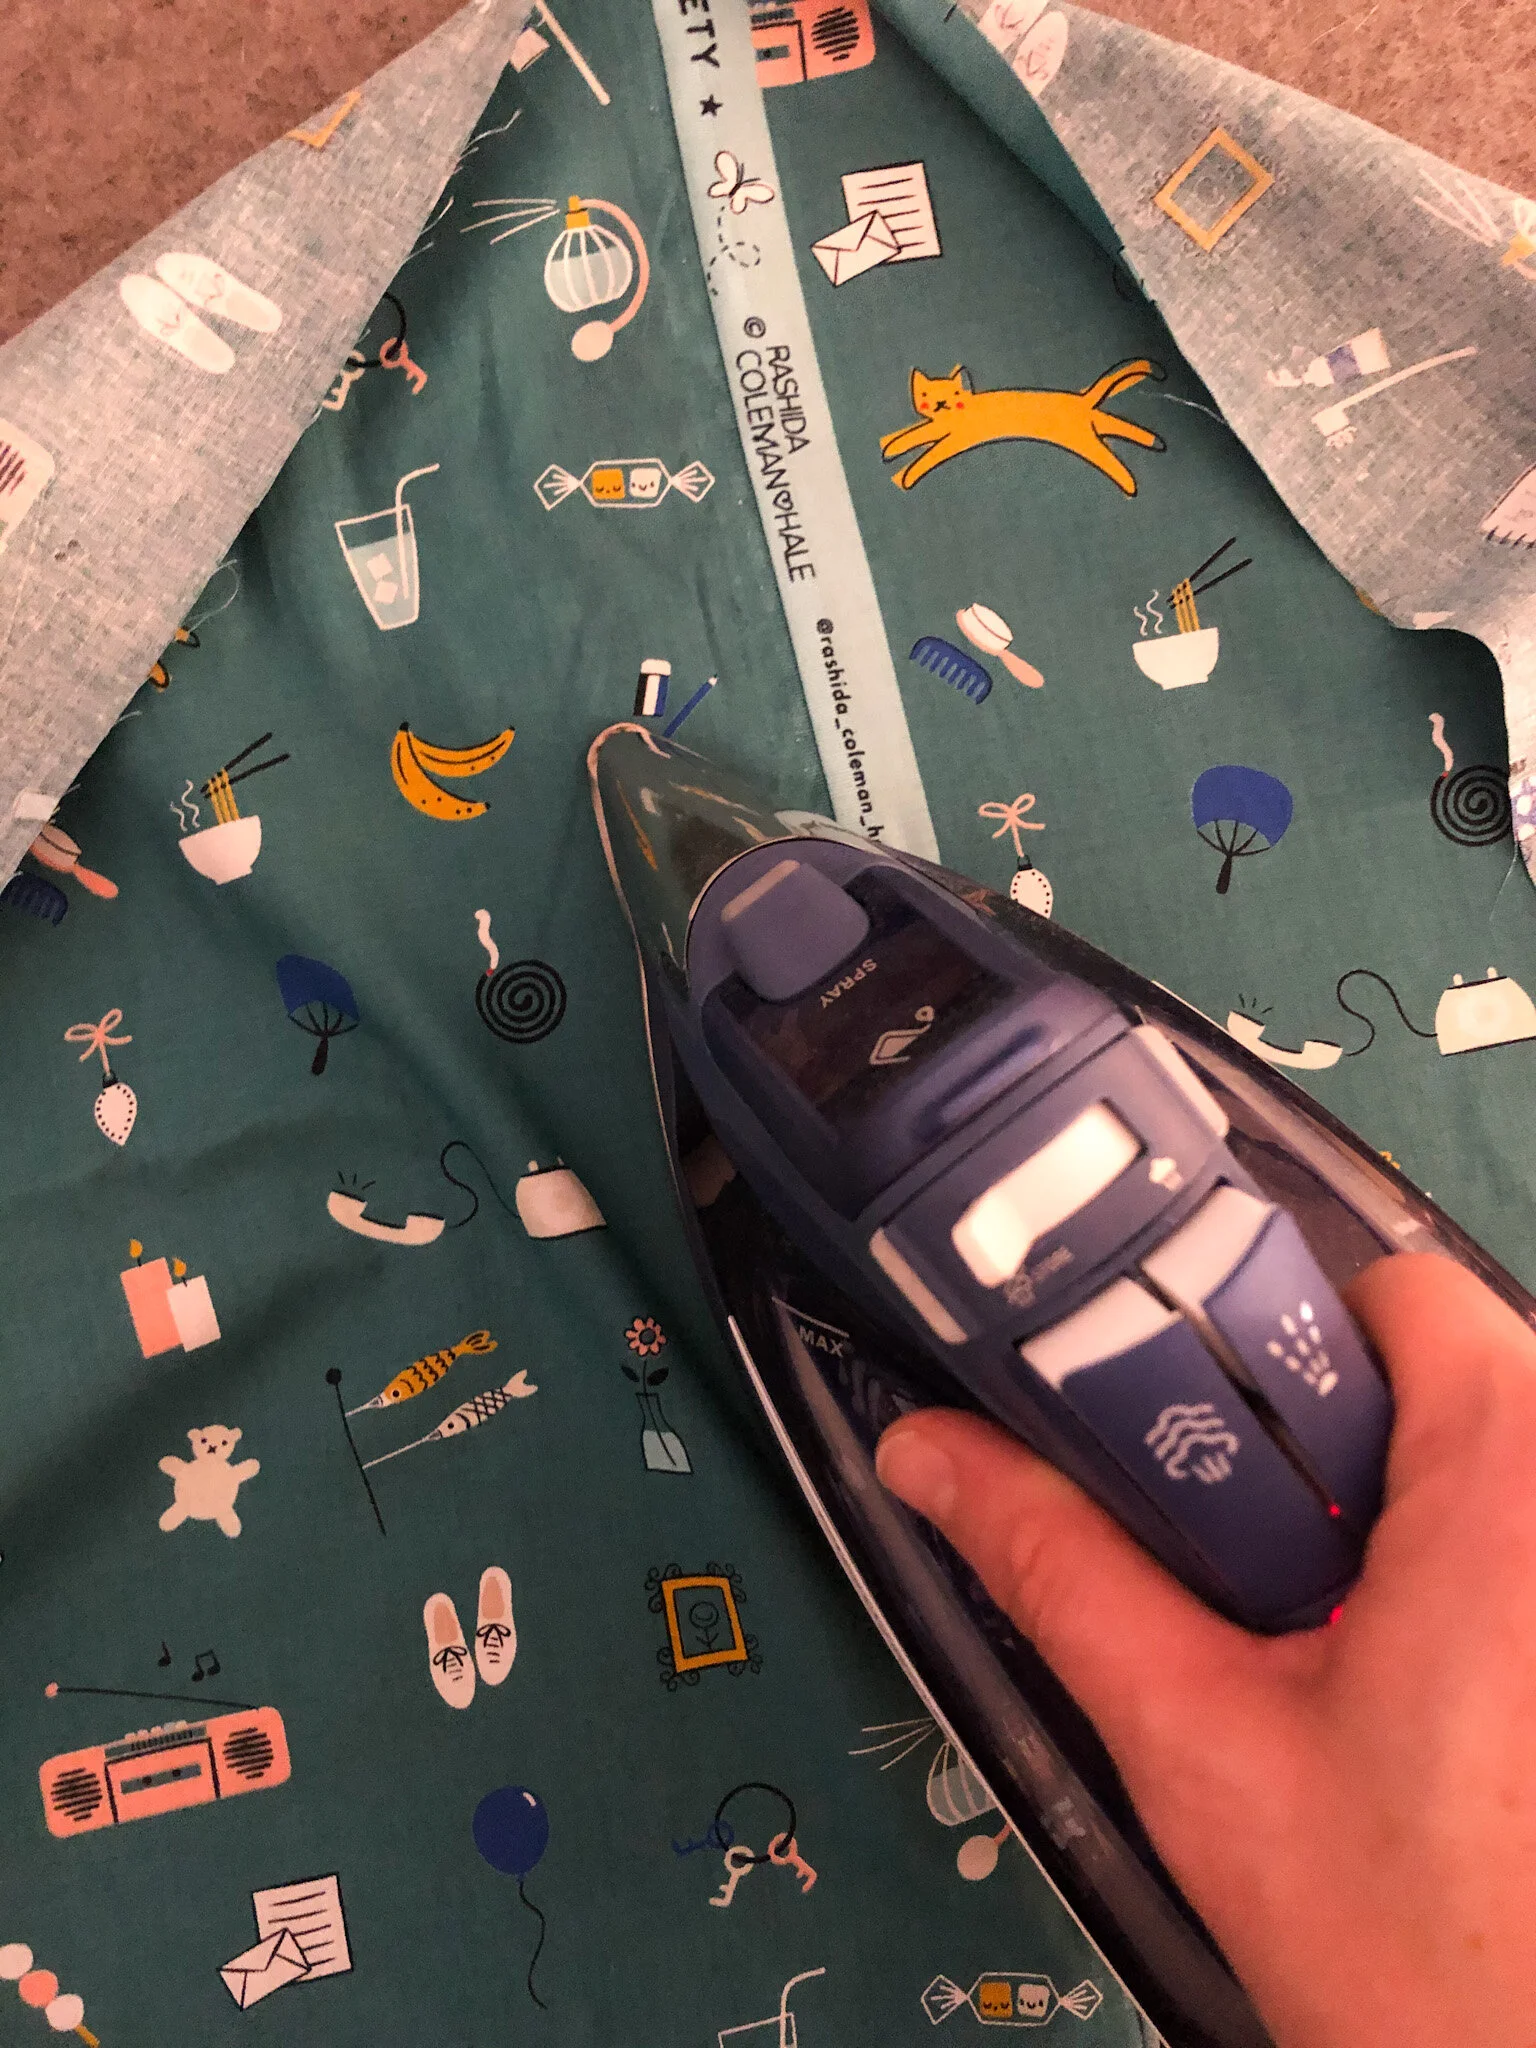
Step 4: Press the seam open. And your backing is ready to go!
Option 2: Seamlessly Matching Your Backing
Supplies:
Fabric
Scissors
Glue Stick
Iron
Step 1:
Gather the fabric you’d like and make sure you have it cut into two pieces. Tip: If this is your method of assembling your quilt back, please make sure to buy 1/4 yard extra.
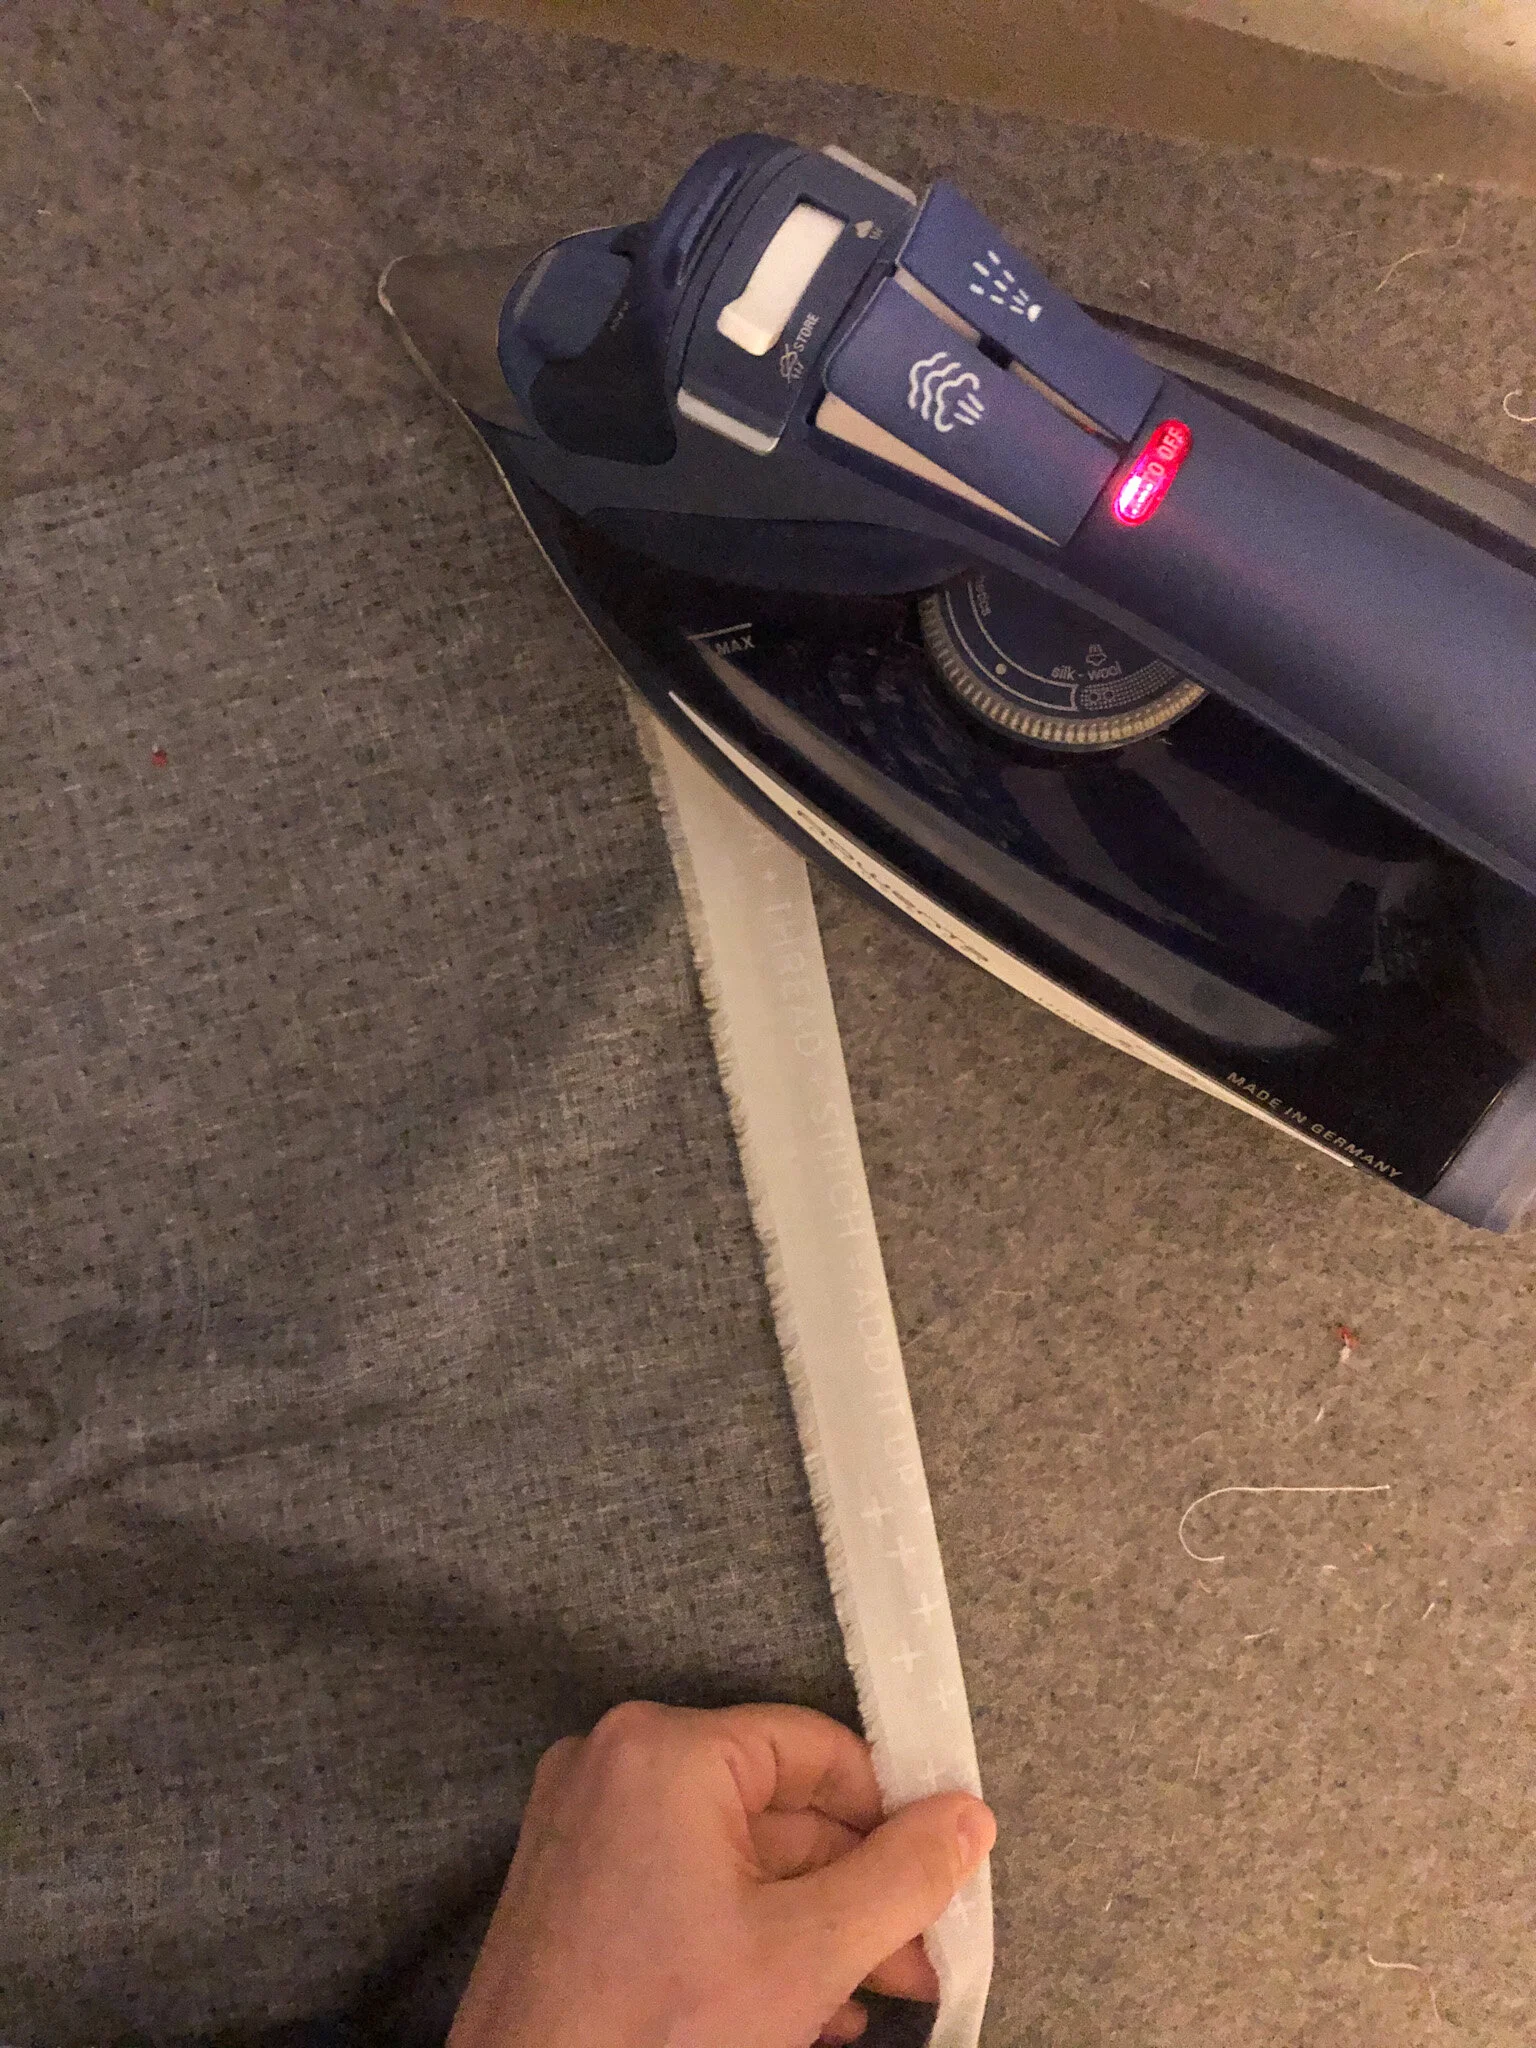
Step 2:
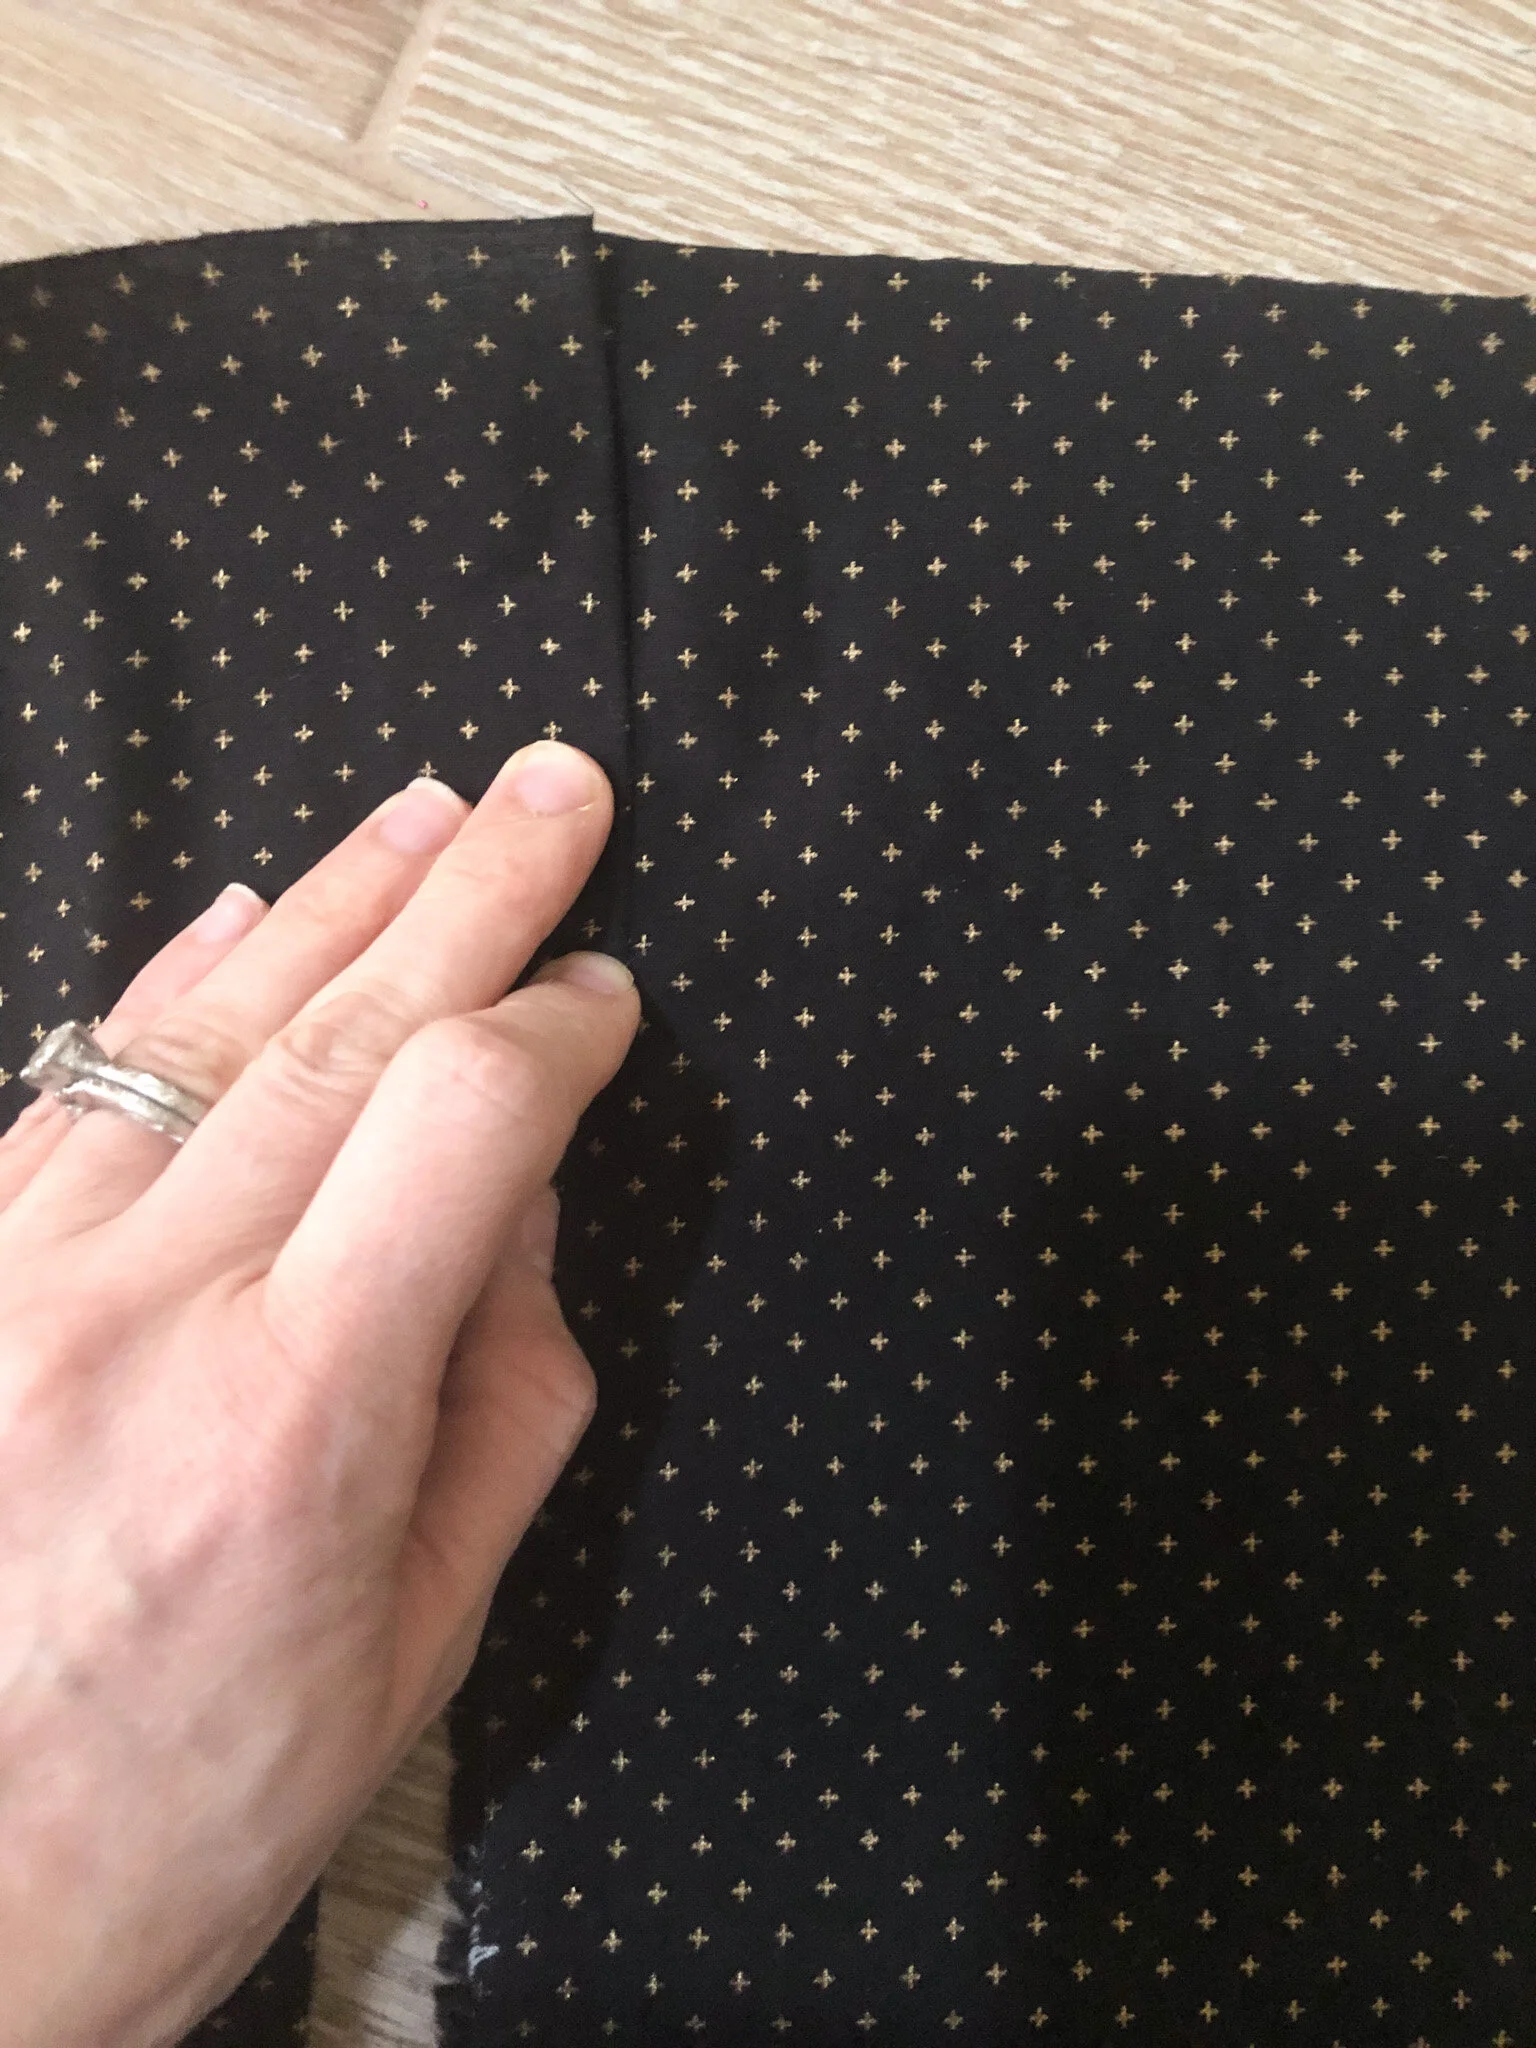
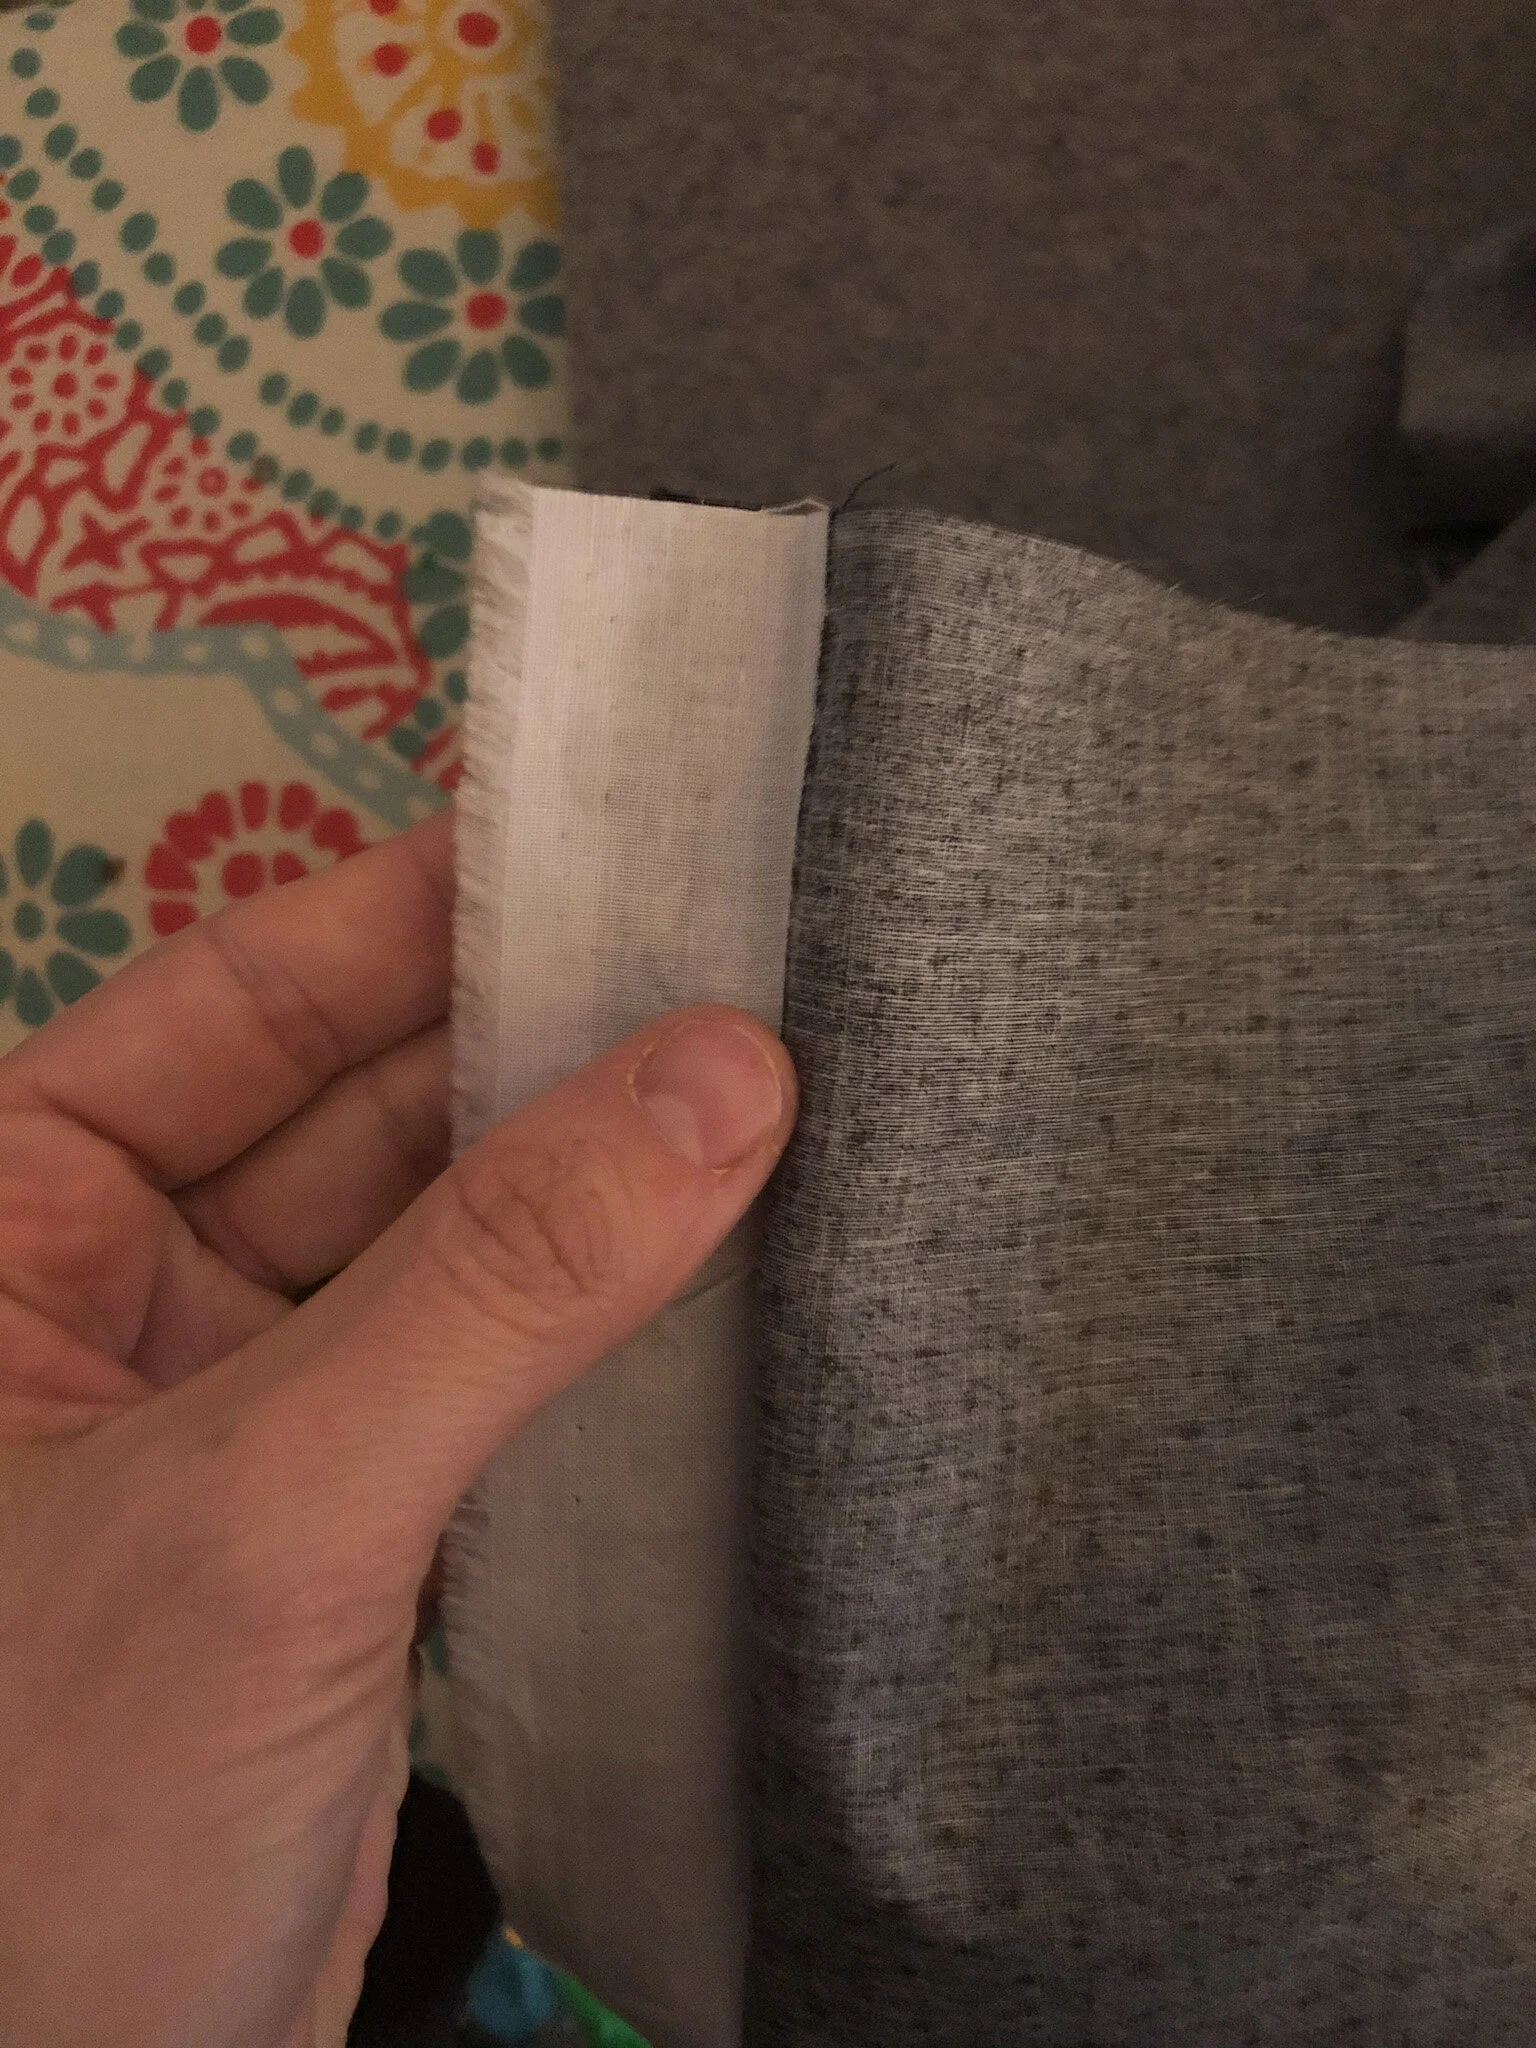
Take one piece of fabric, and press the selvage back along the entire edge.
Step 3:
Lay your fabrics side by side and find where you can start matching the pattern of the ironed edge with the non writing selvage side of the other fabric.
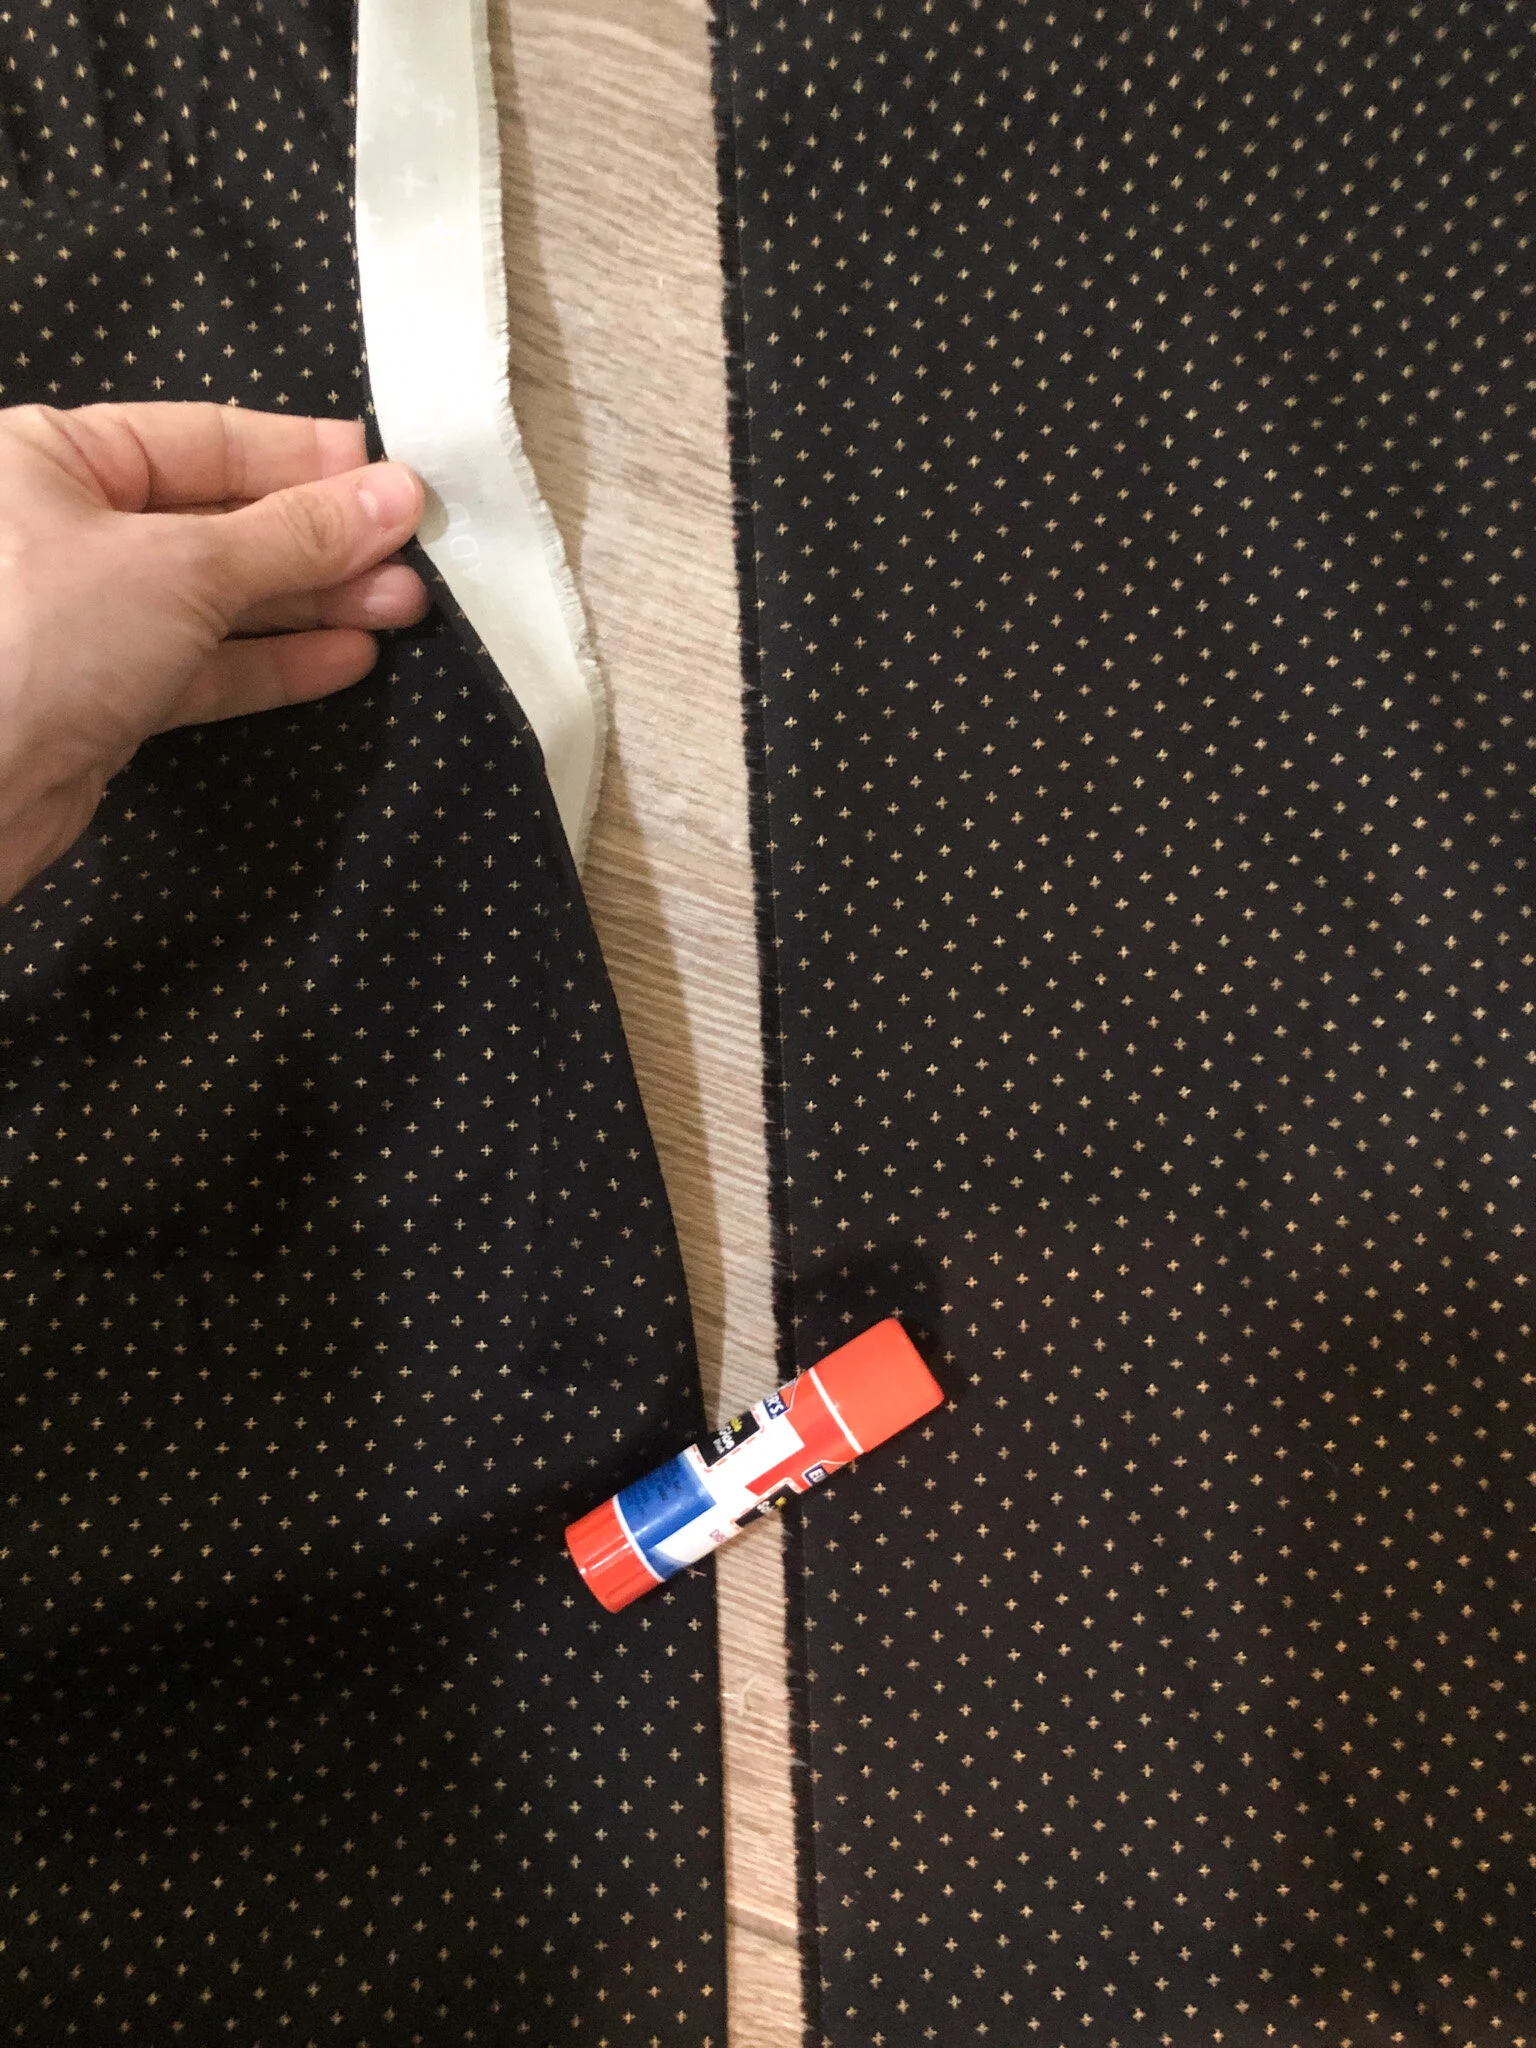
Step 4:
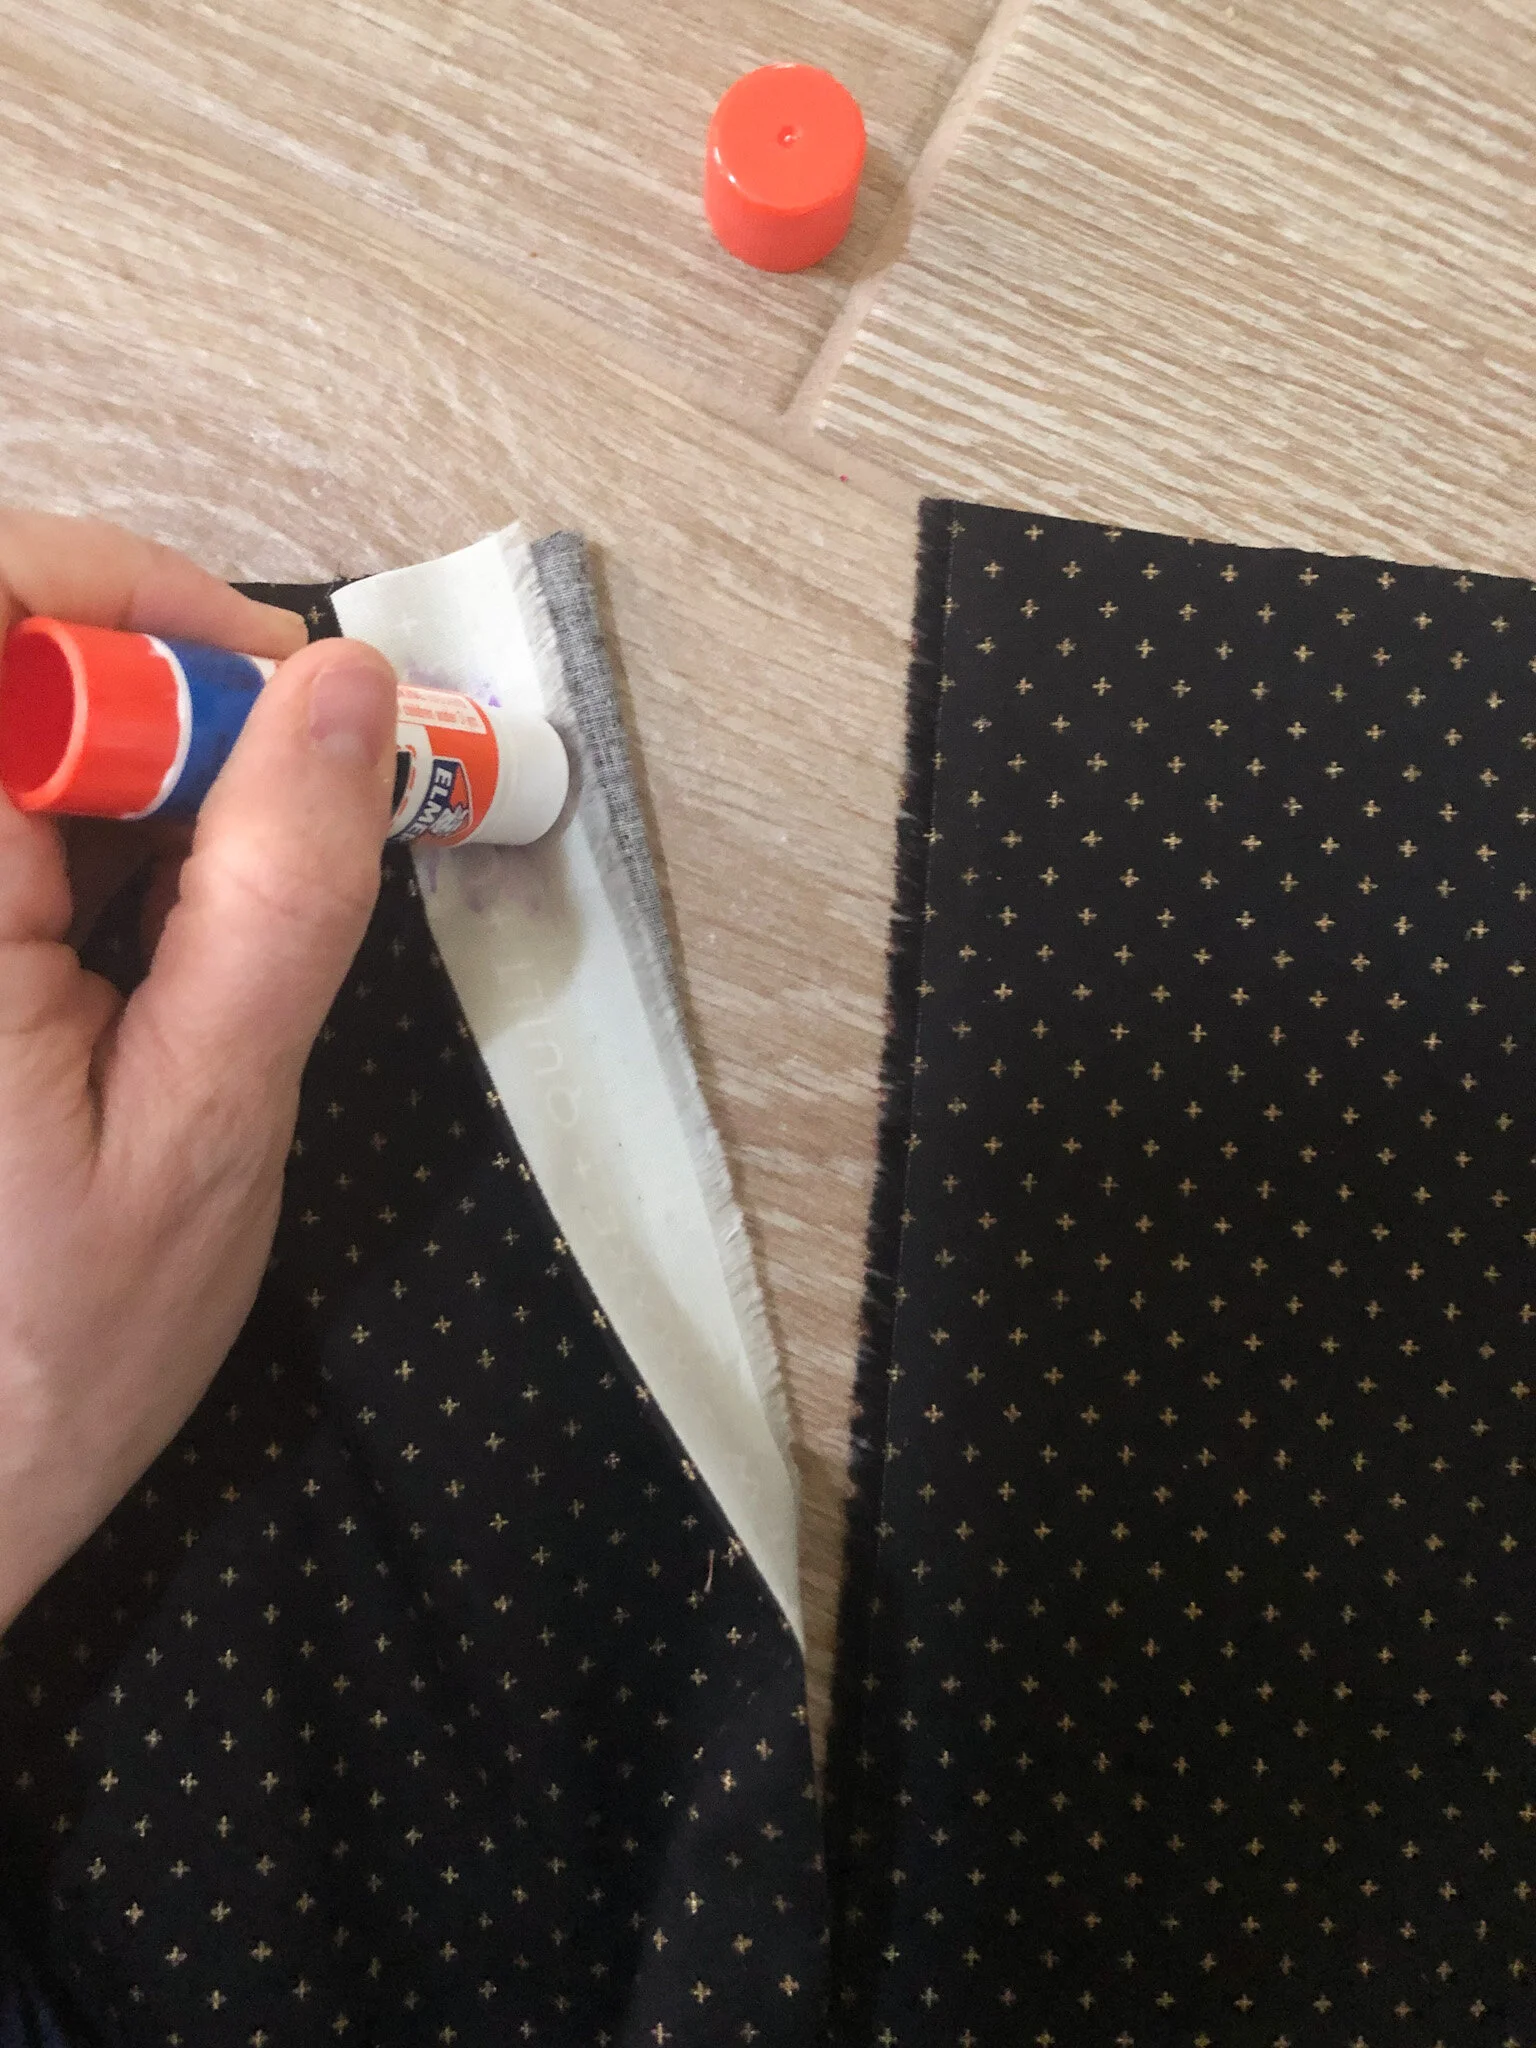
Now that you have found where your pattern lines up, take out your glue stick. Don’t worry it will wash out! You are going to start putting glue on the selvage you ironed back, and then gluing the fabric directly on the other piece. You will do this along the entire length of yardage. Do this slowly to make sure you are matching up the print.

Step 5:
You will let it sit for 5 minutes- this allows the glue to dry and cure.
Step 6:
Take the pieced fabric to the iron and press along the glued, matched up seam. Do this the entire length of the fabric.
Step 7:
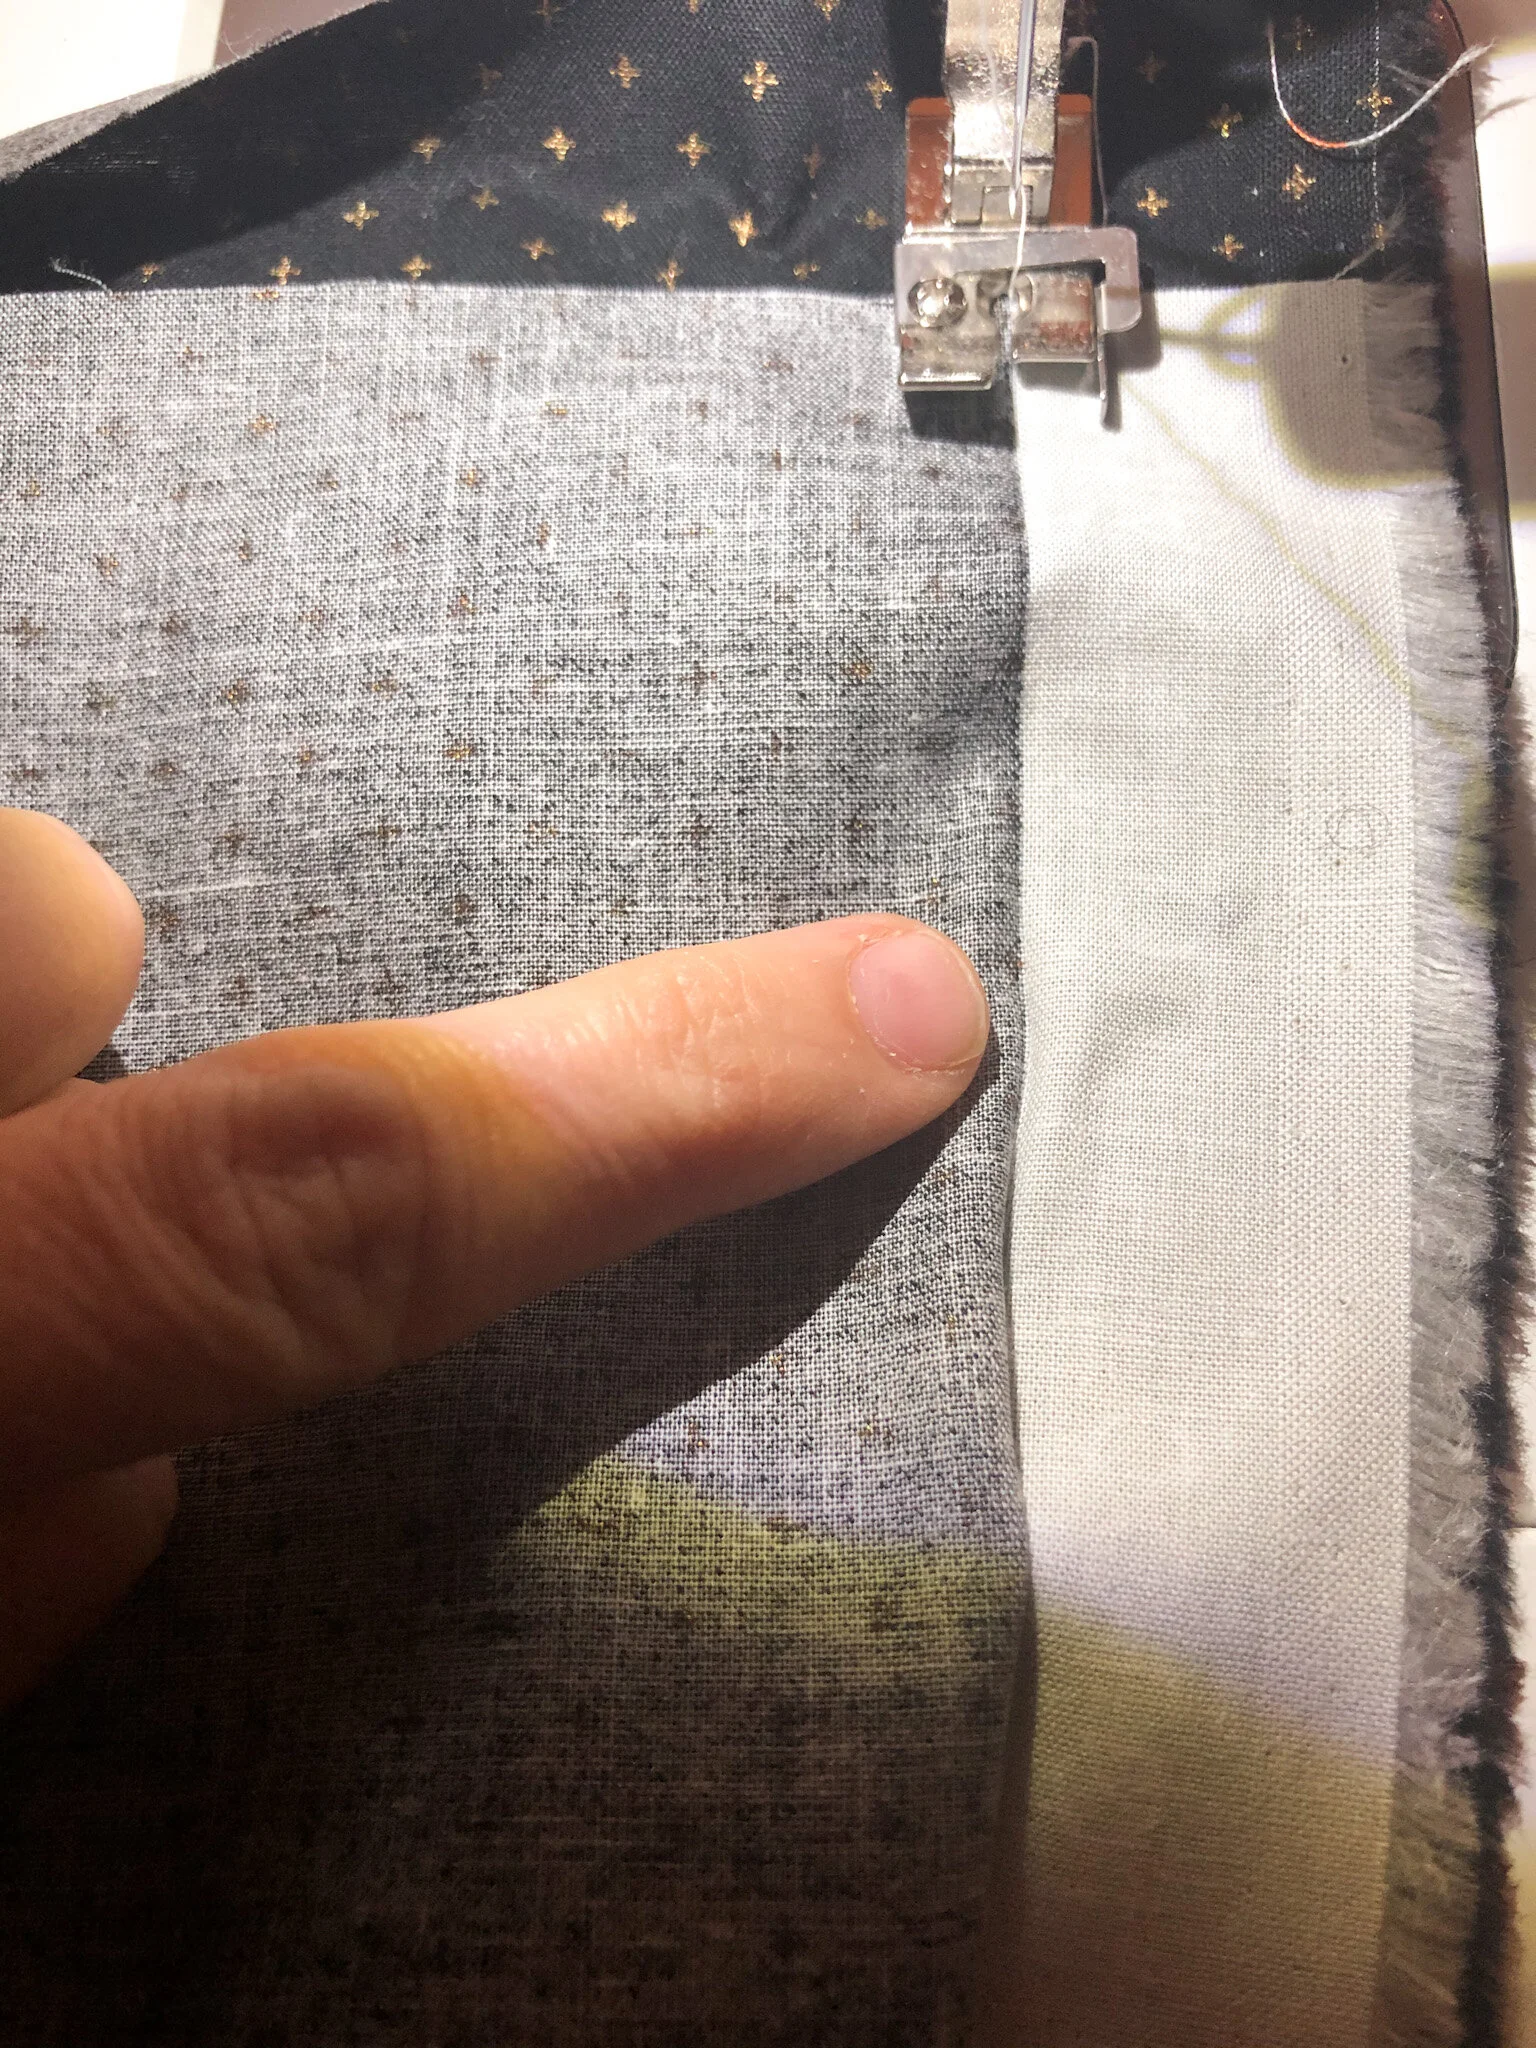
Open up fabric and sew along the crease you made with the iron.
Step 8:
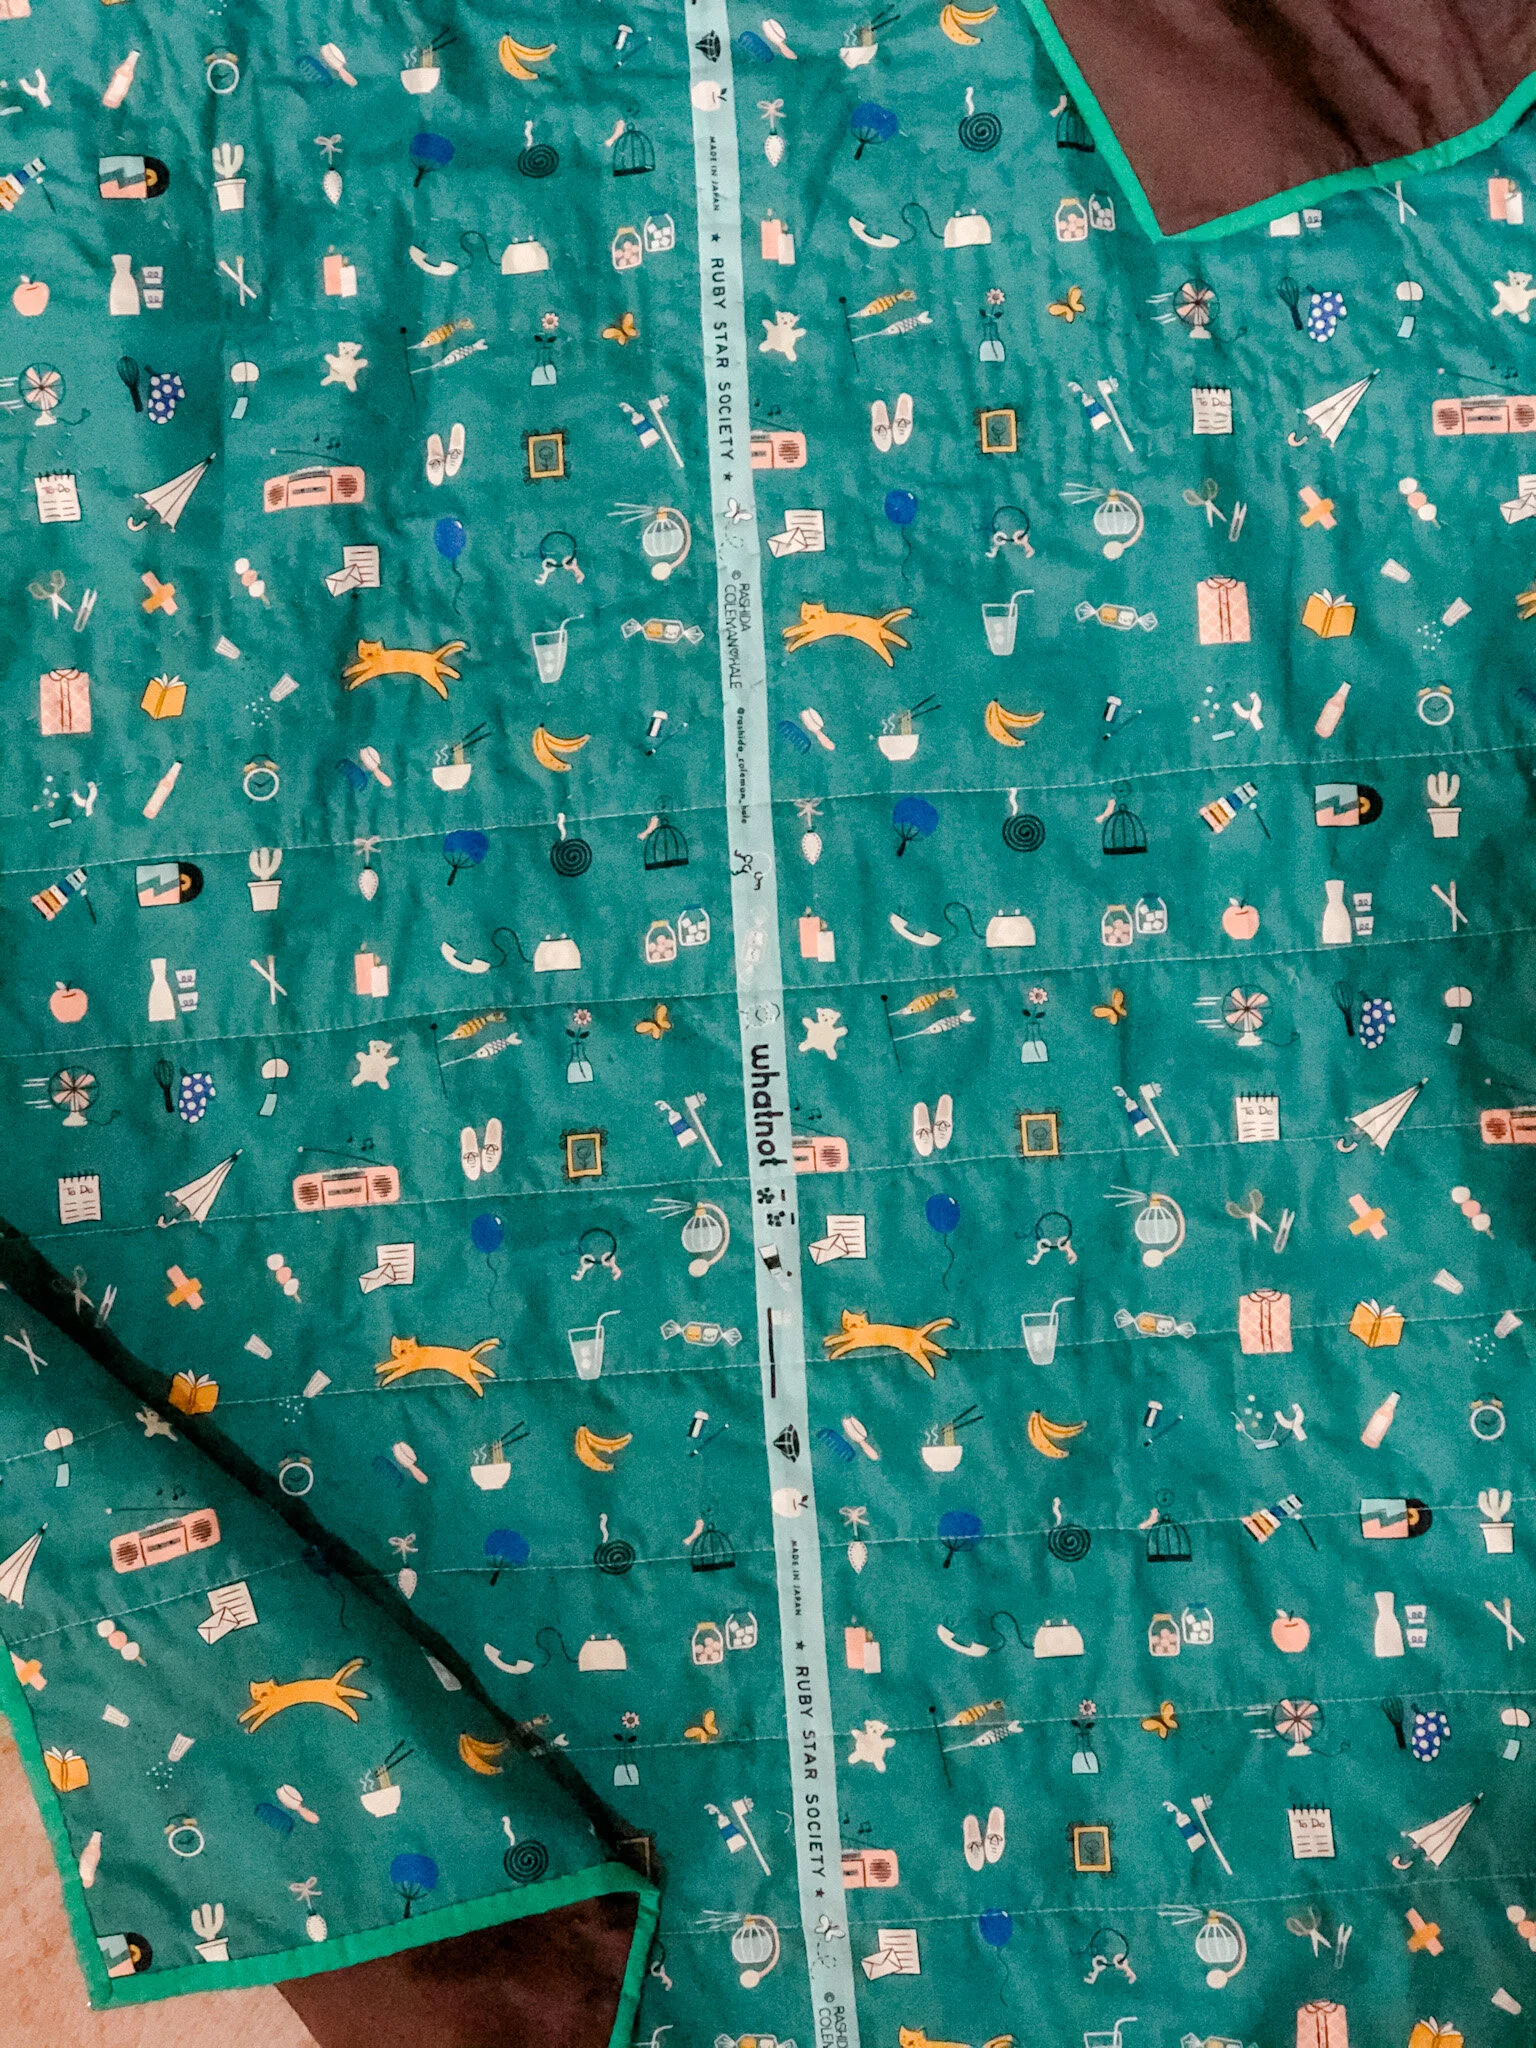
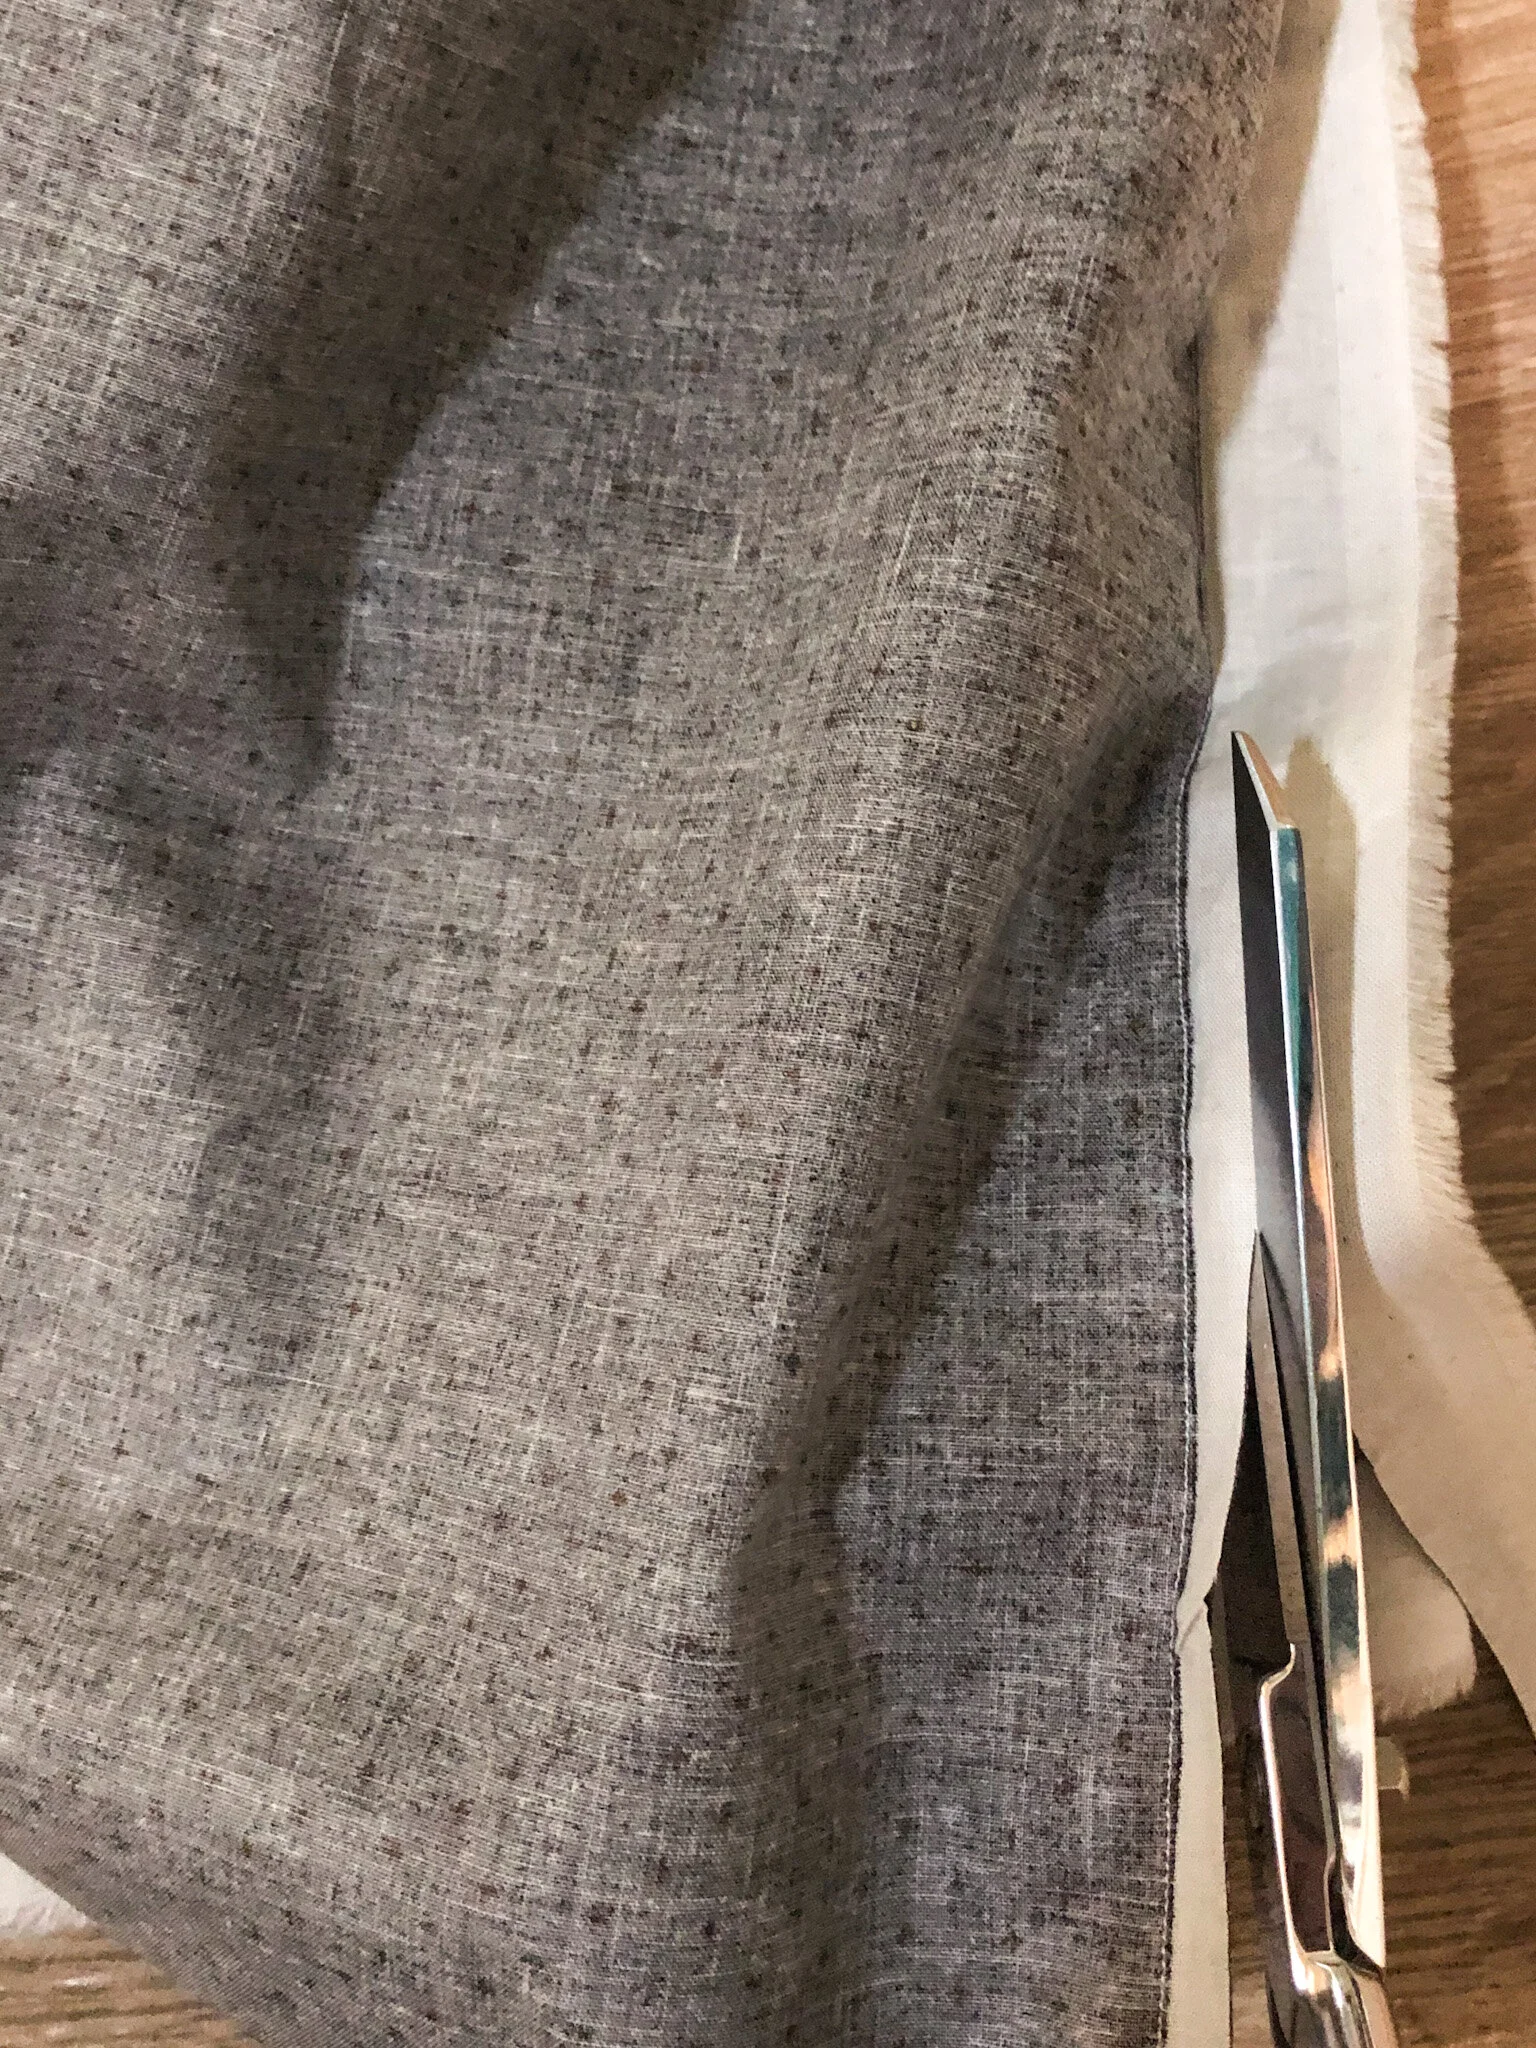
Once sewn, trim the extra selvage using a rotary cutter or scissors. Leaving 1/4”. Then press the seam open.

And now you are ready to make your quilt sandwich, baste and quilt! And you will have a beautiful backing no matter what option you choose! Enjoy your quilting!


Hi, I am Melissa! I am a pattern designer and quilter! Welcome!